

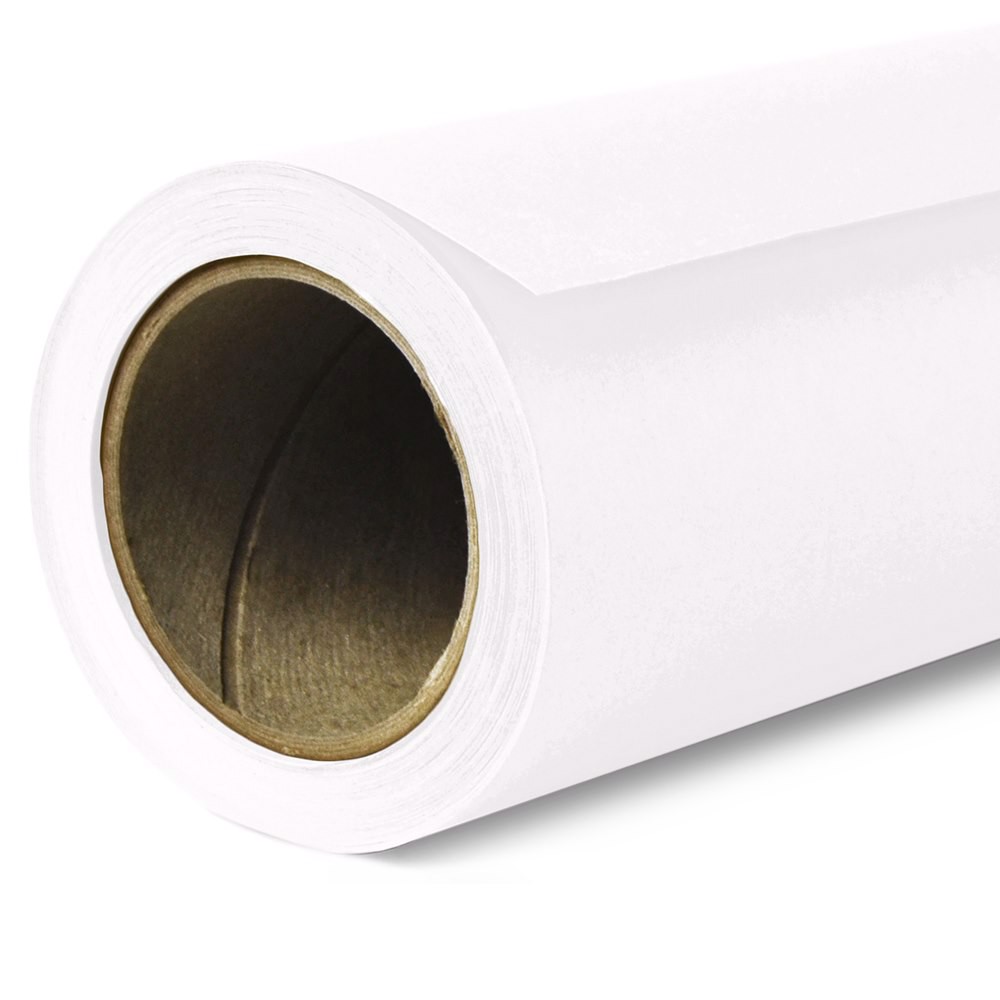
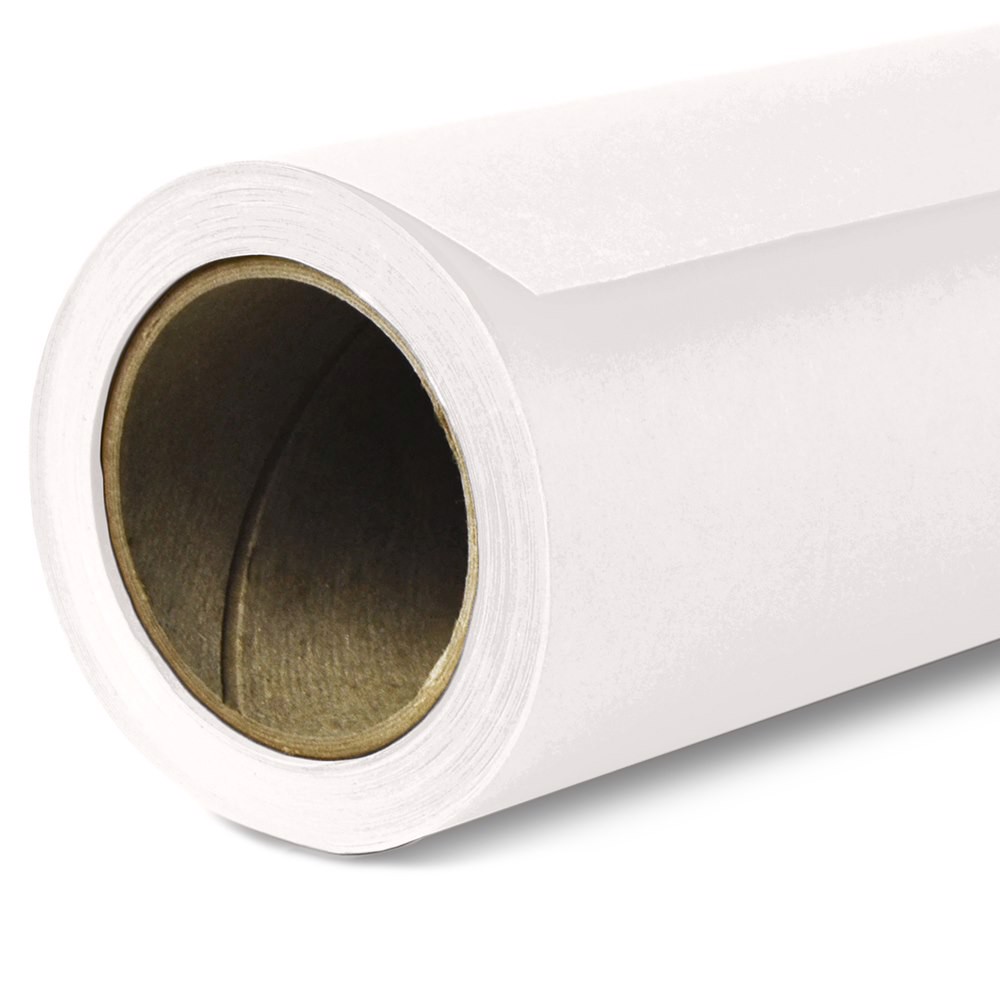
EXPLORE SEAMLESS PAPER
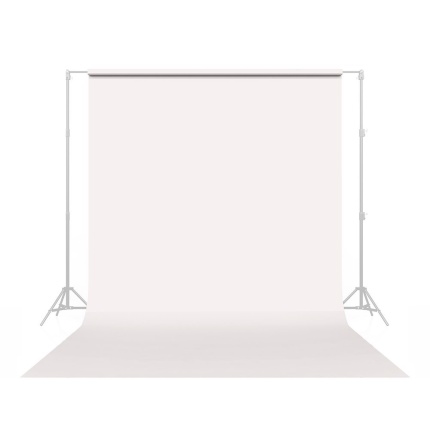
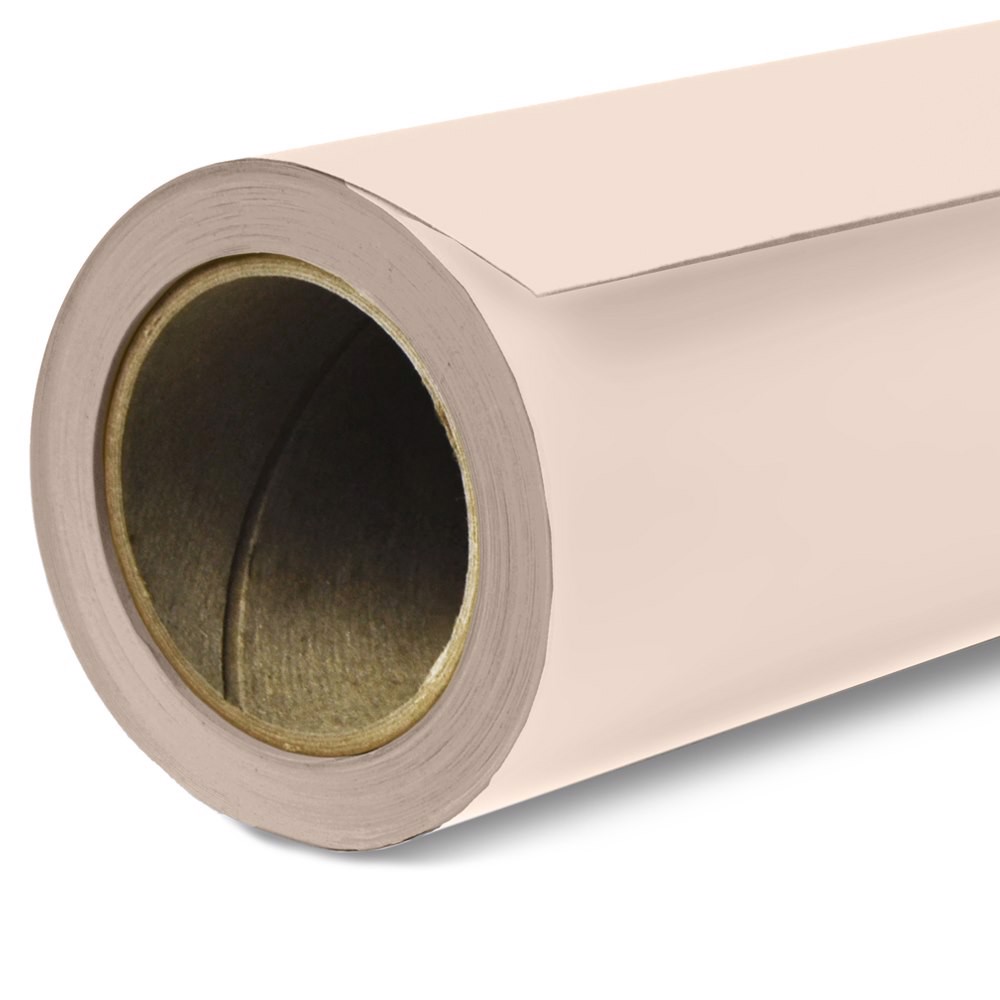
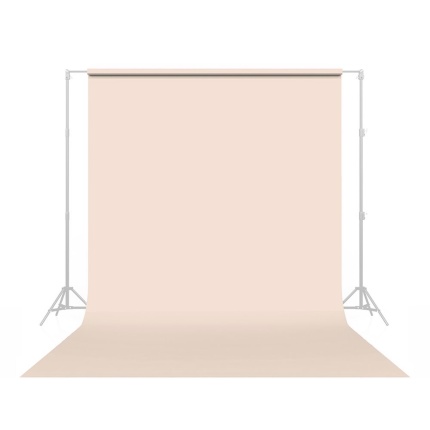
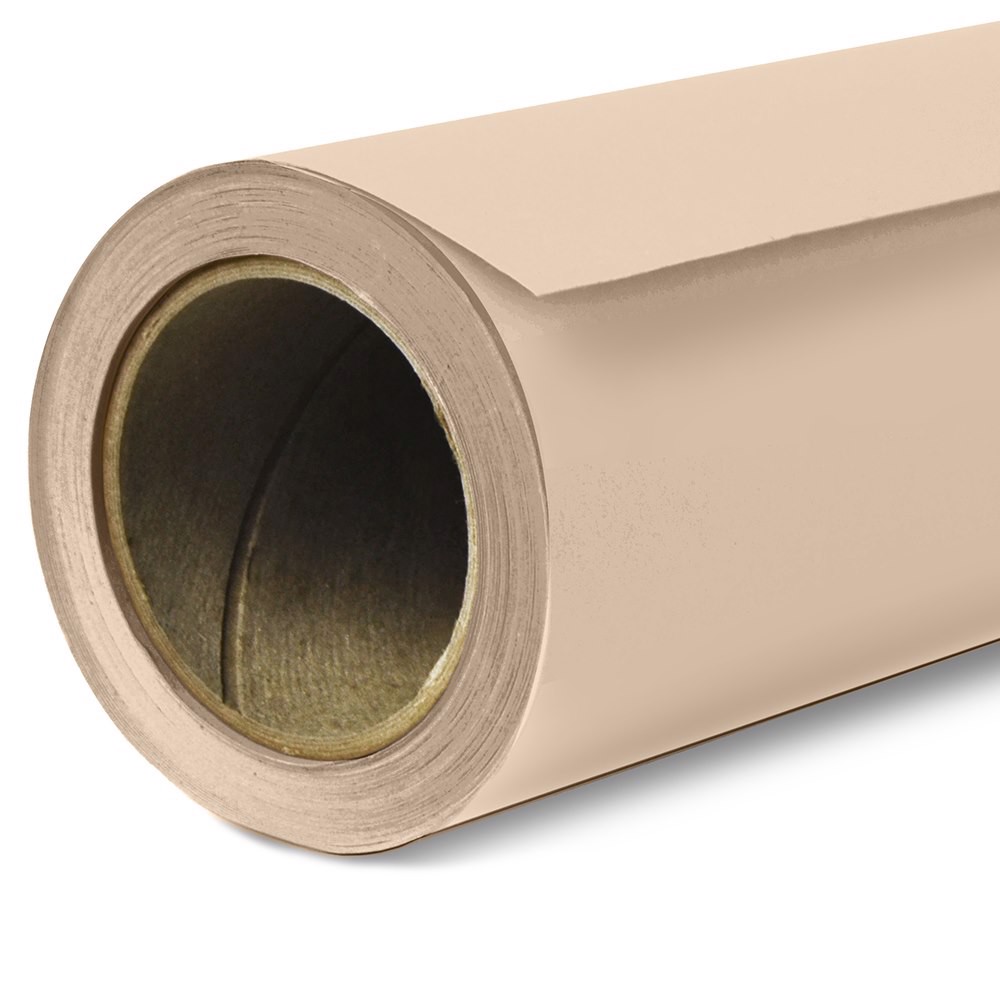
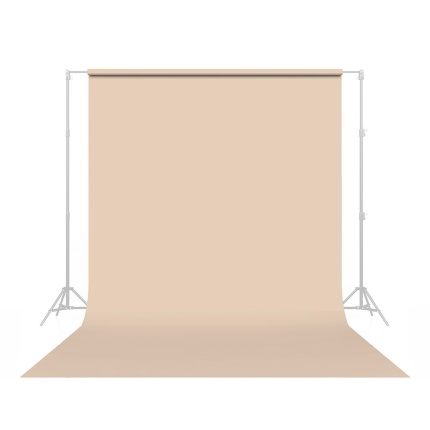
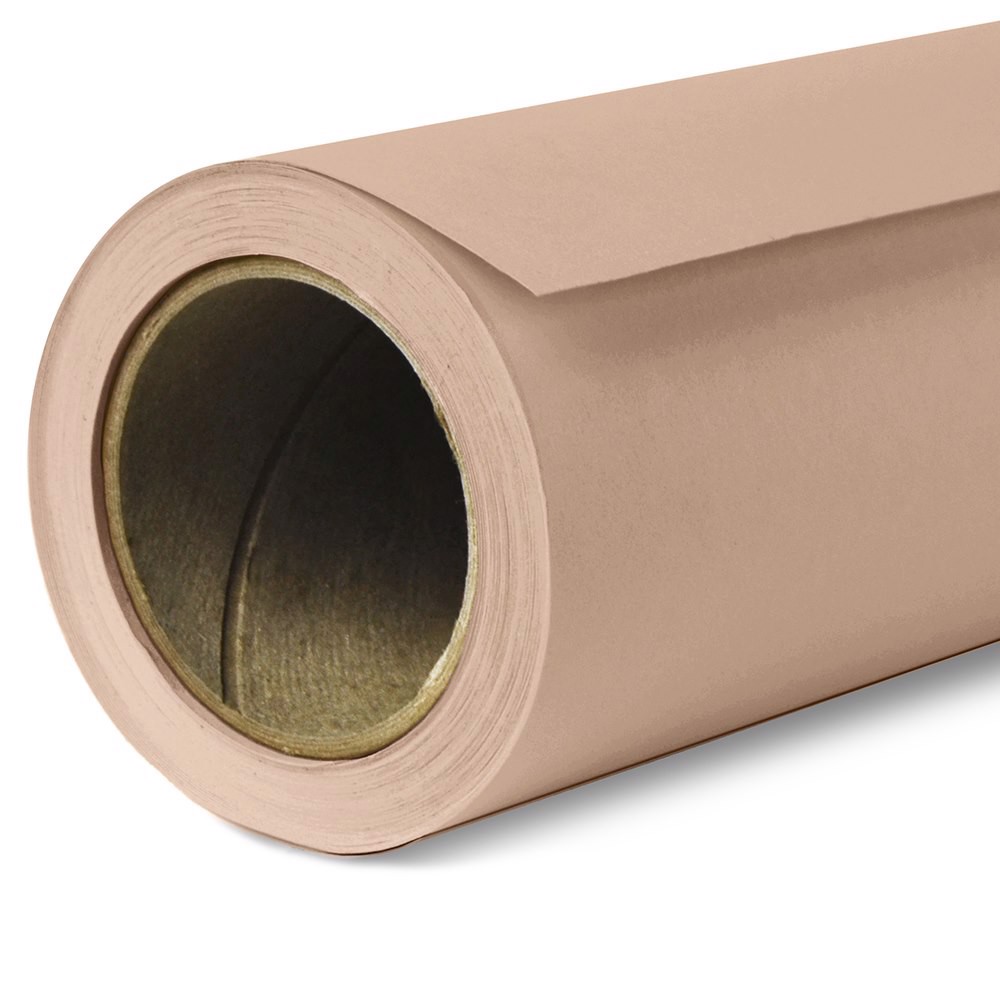
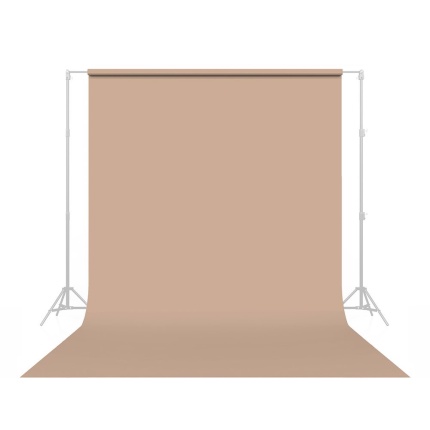
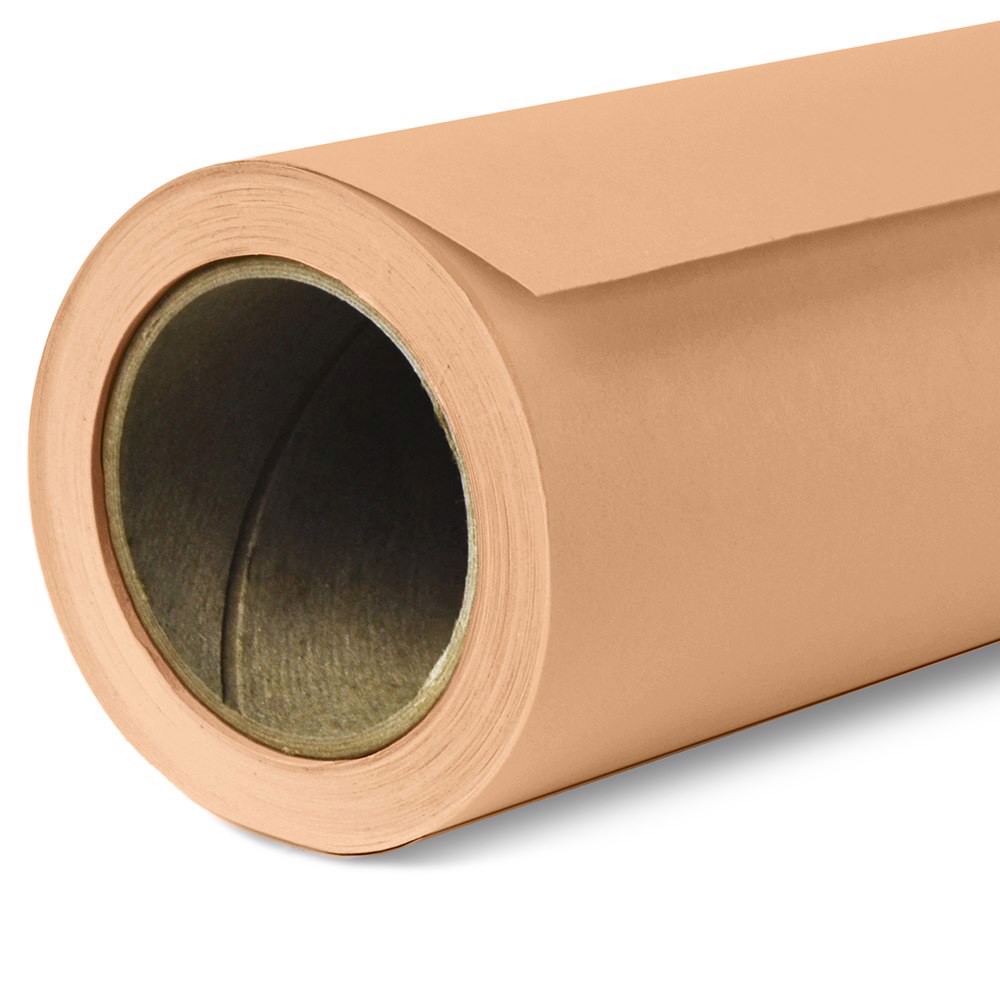
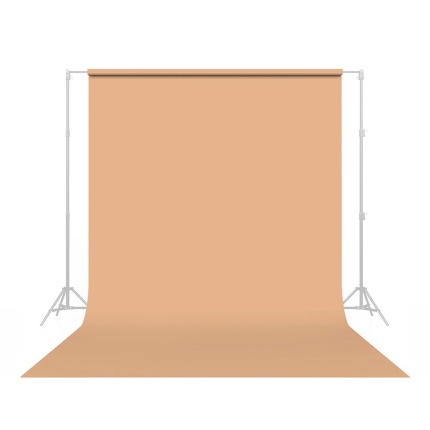
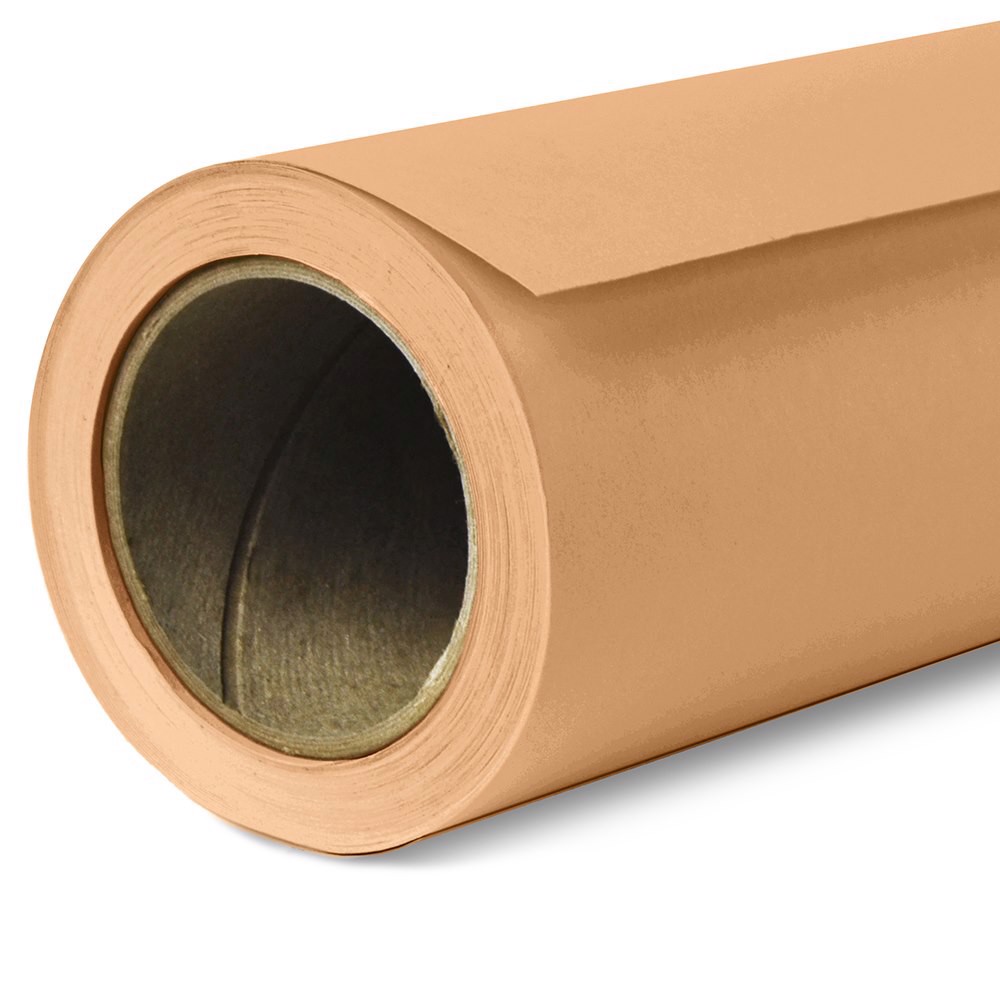
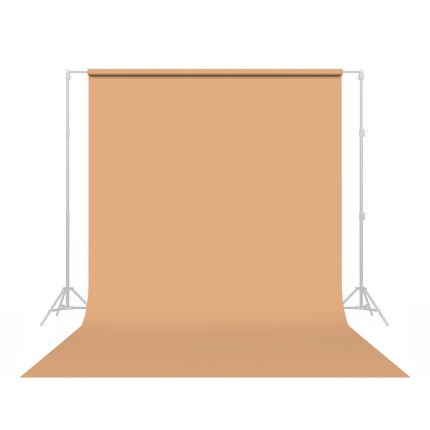
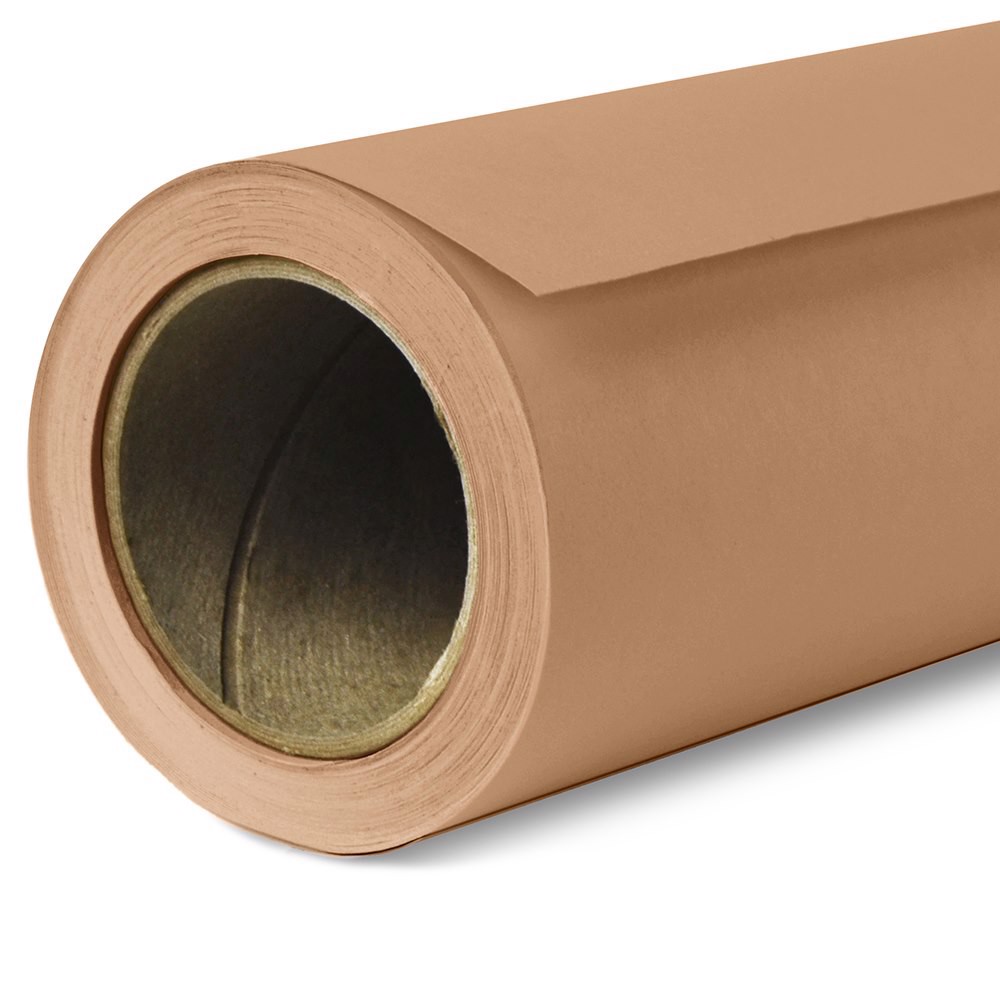
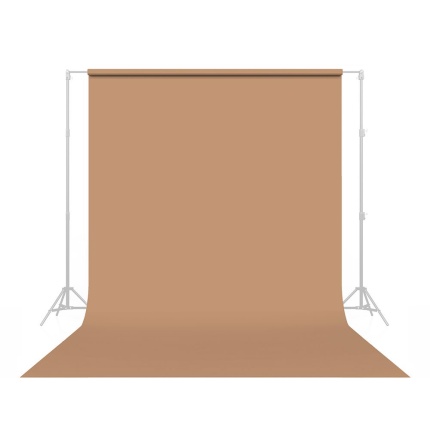
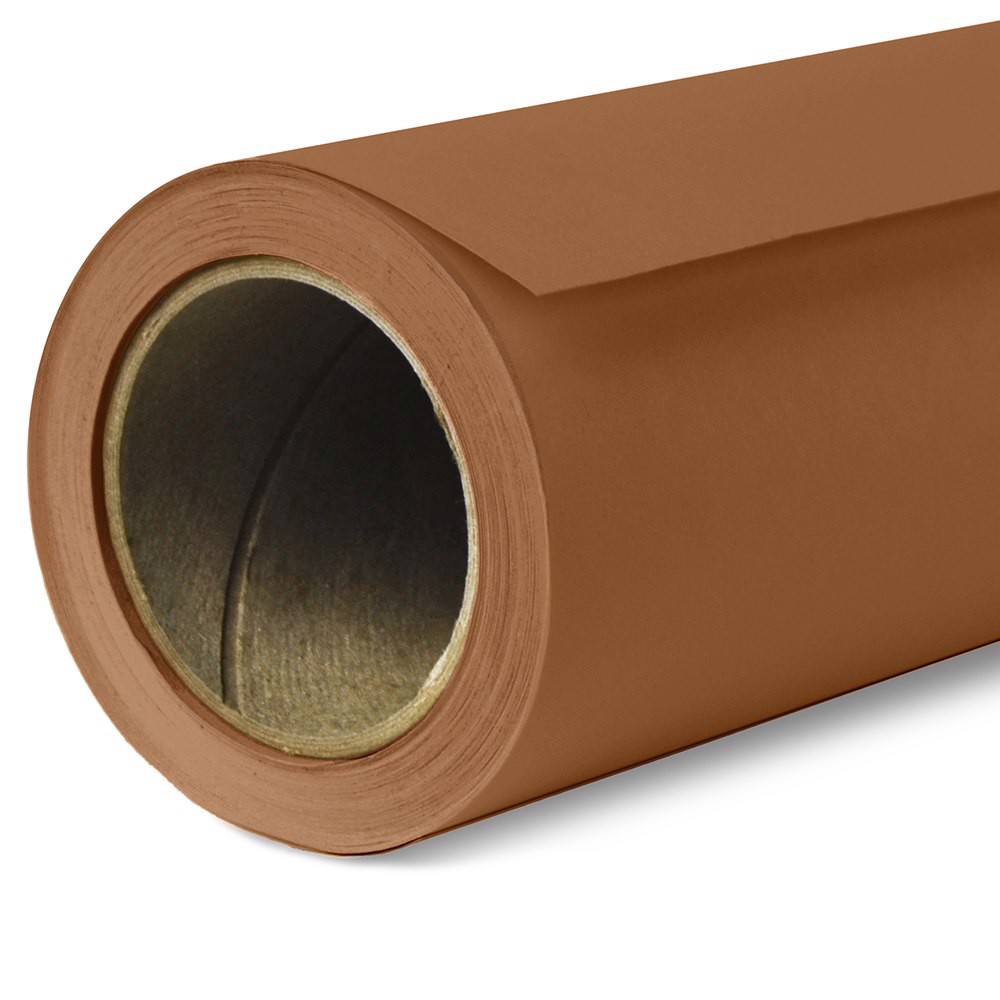
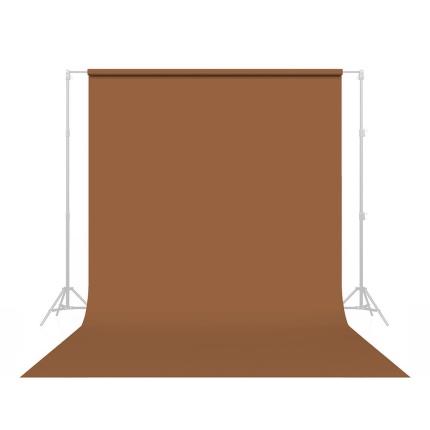
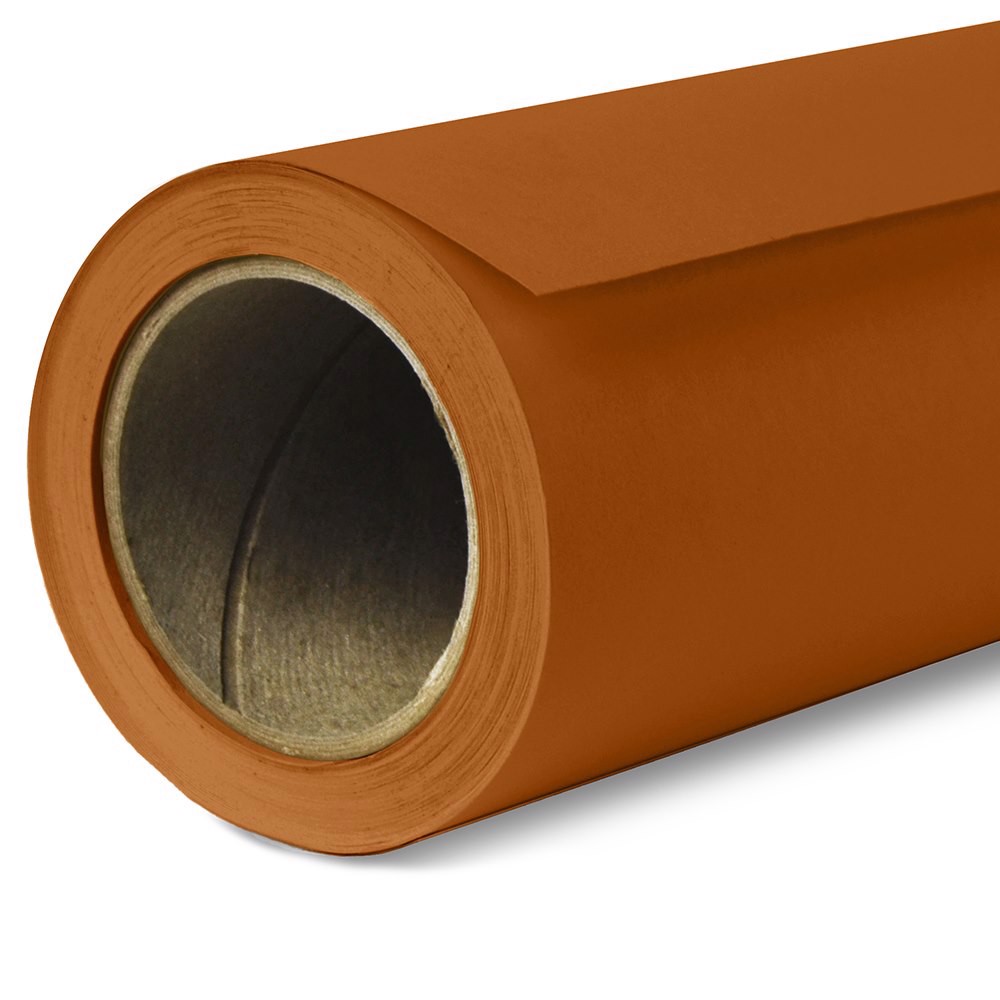
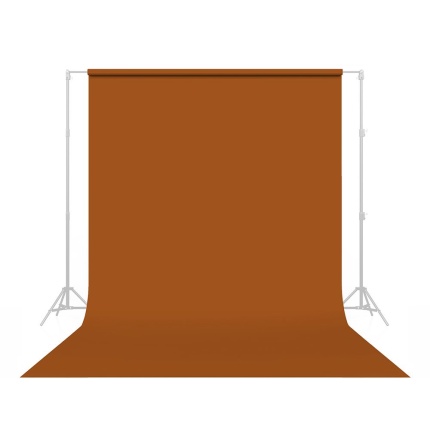
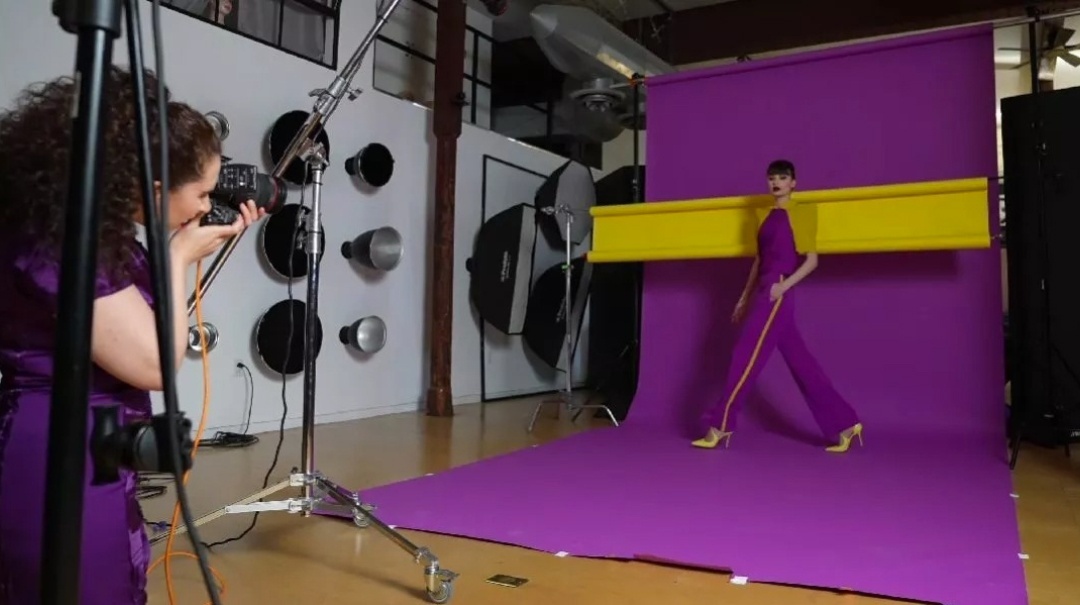
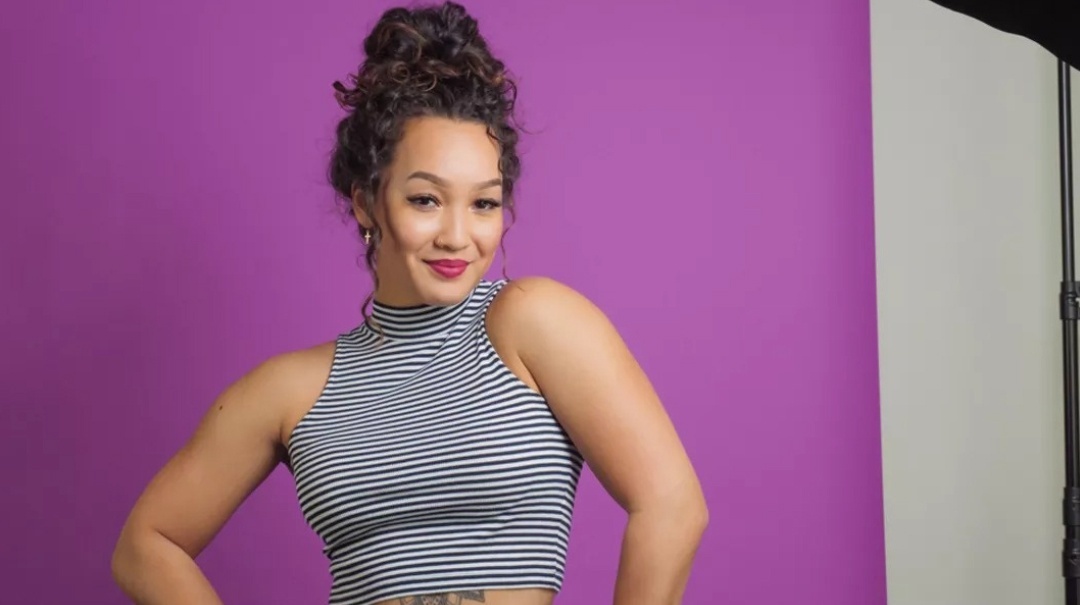
Savage Seamless Backdrop Paper provides a high-quality, non-reflecting surface with a fine-tooth feel that’s perfect for creating smooth and even backgrounds for portraits, commercial photography, product photography, video interviews, social media, and much more.
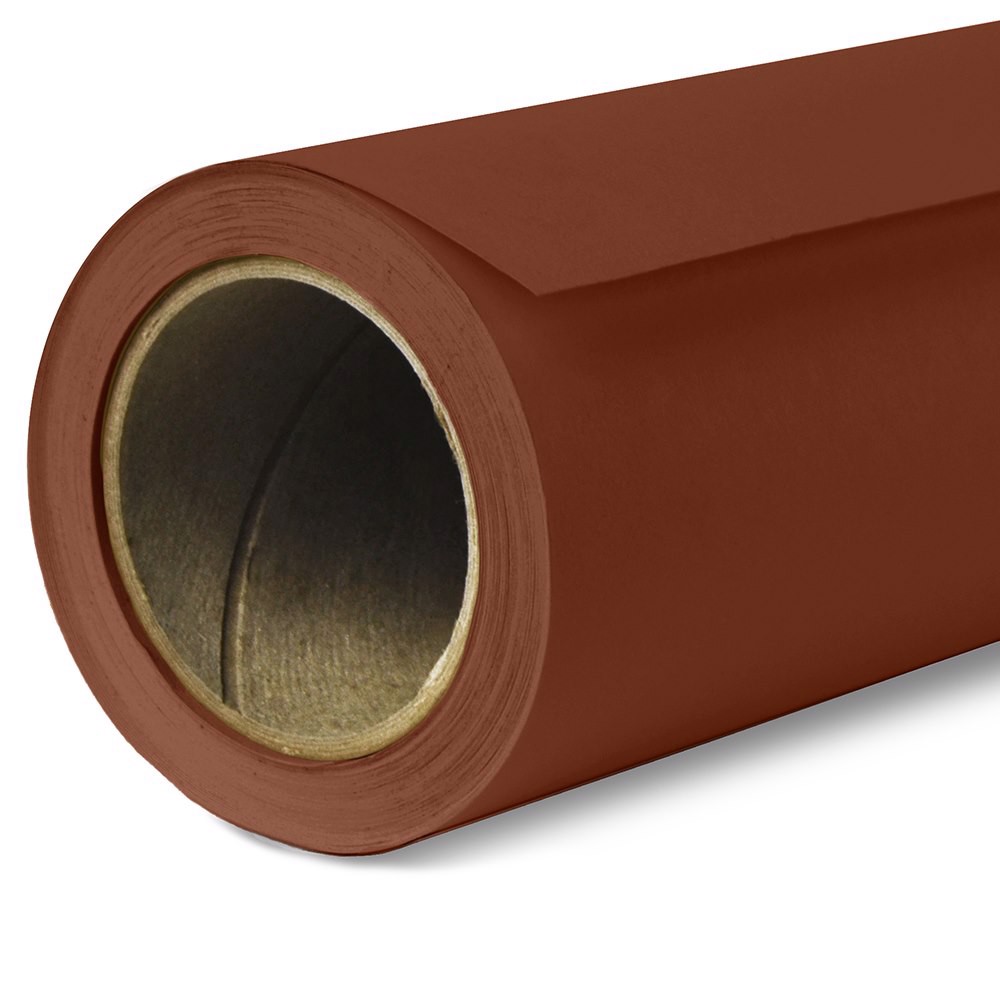
It’s easy to use – just unroll what you need! If the end of the paper gets torn or dirty after a photo shoot, the used portion can be cut off and recycled.

GETTING STARTED
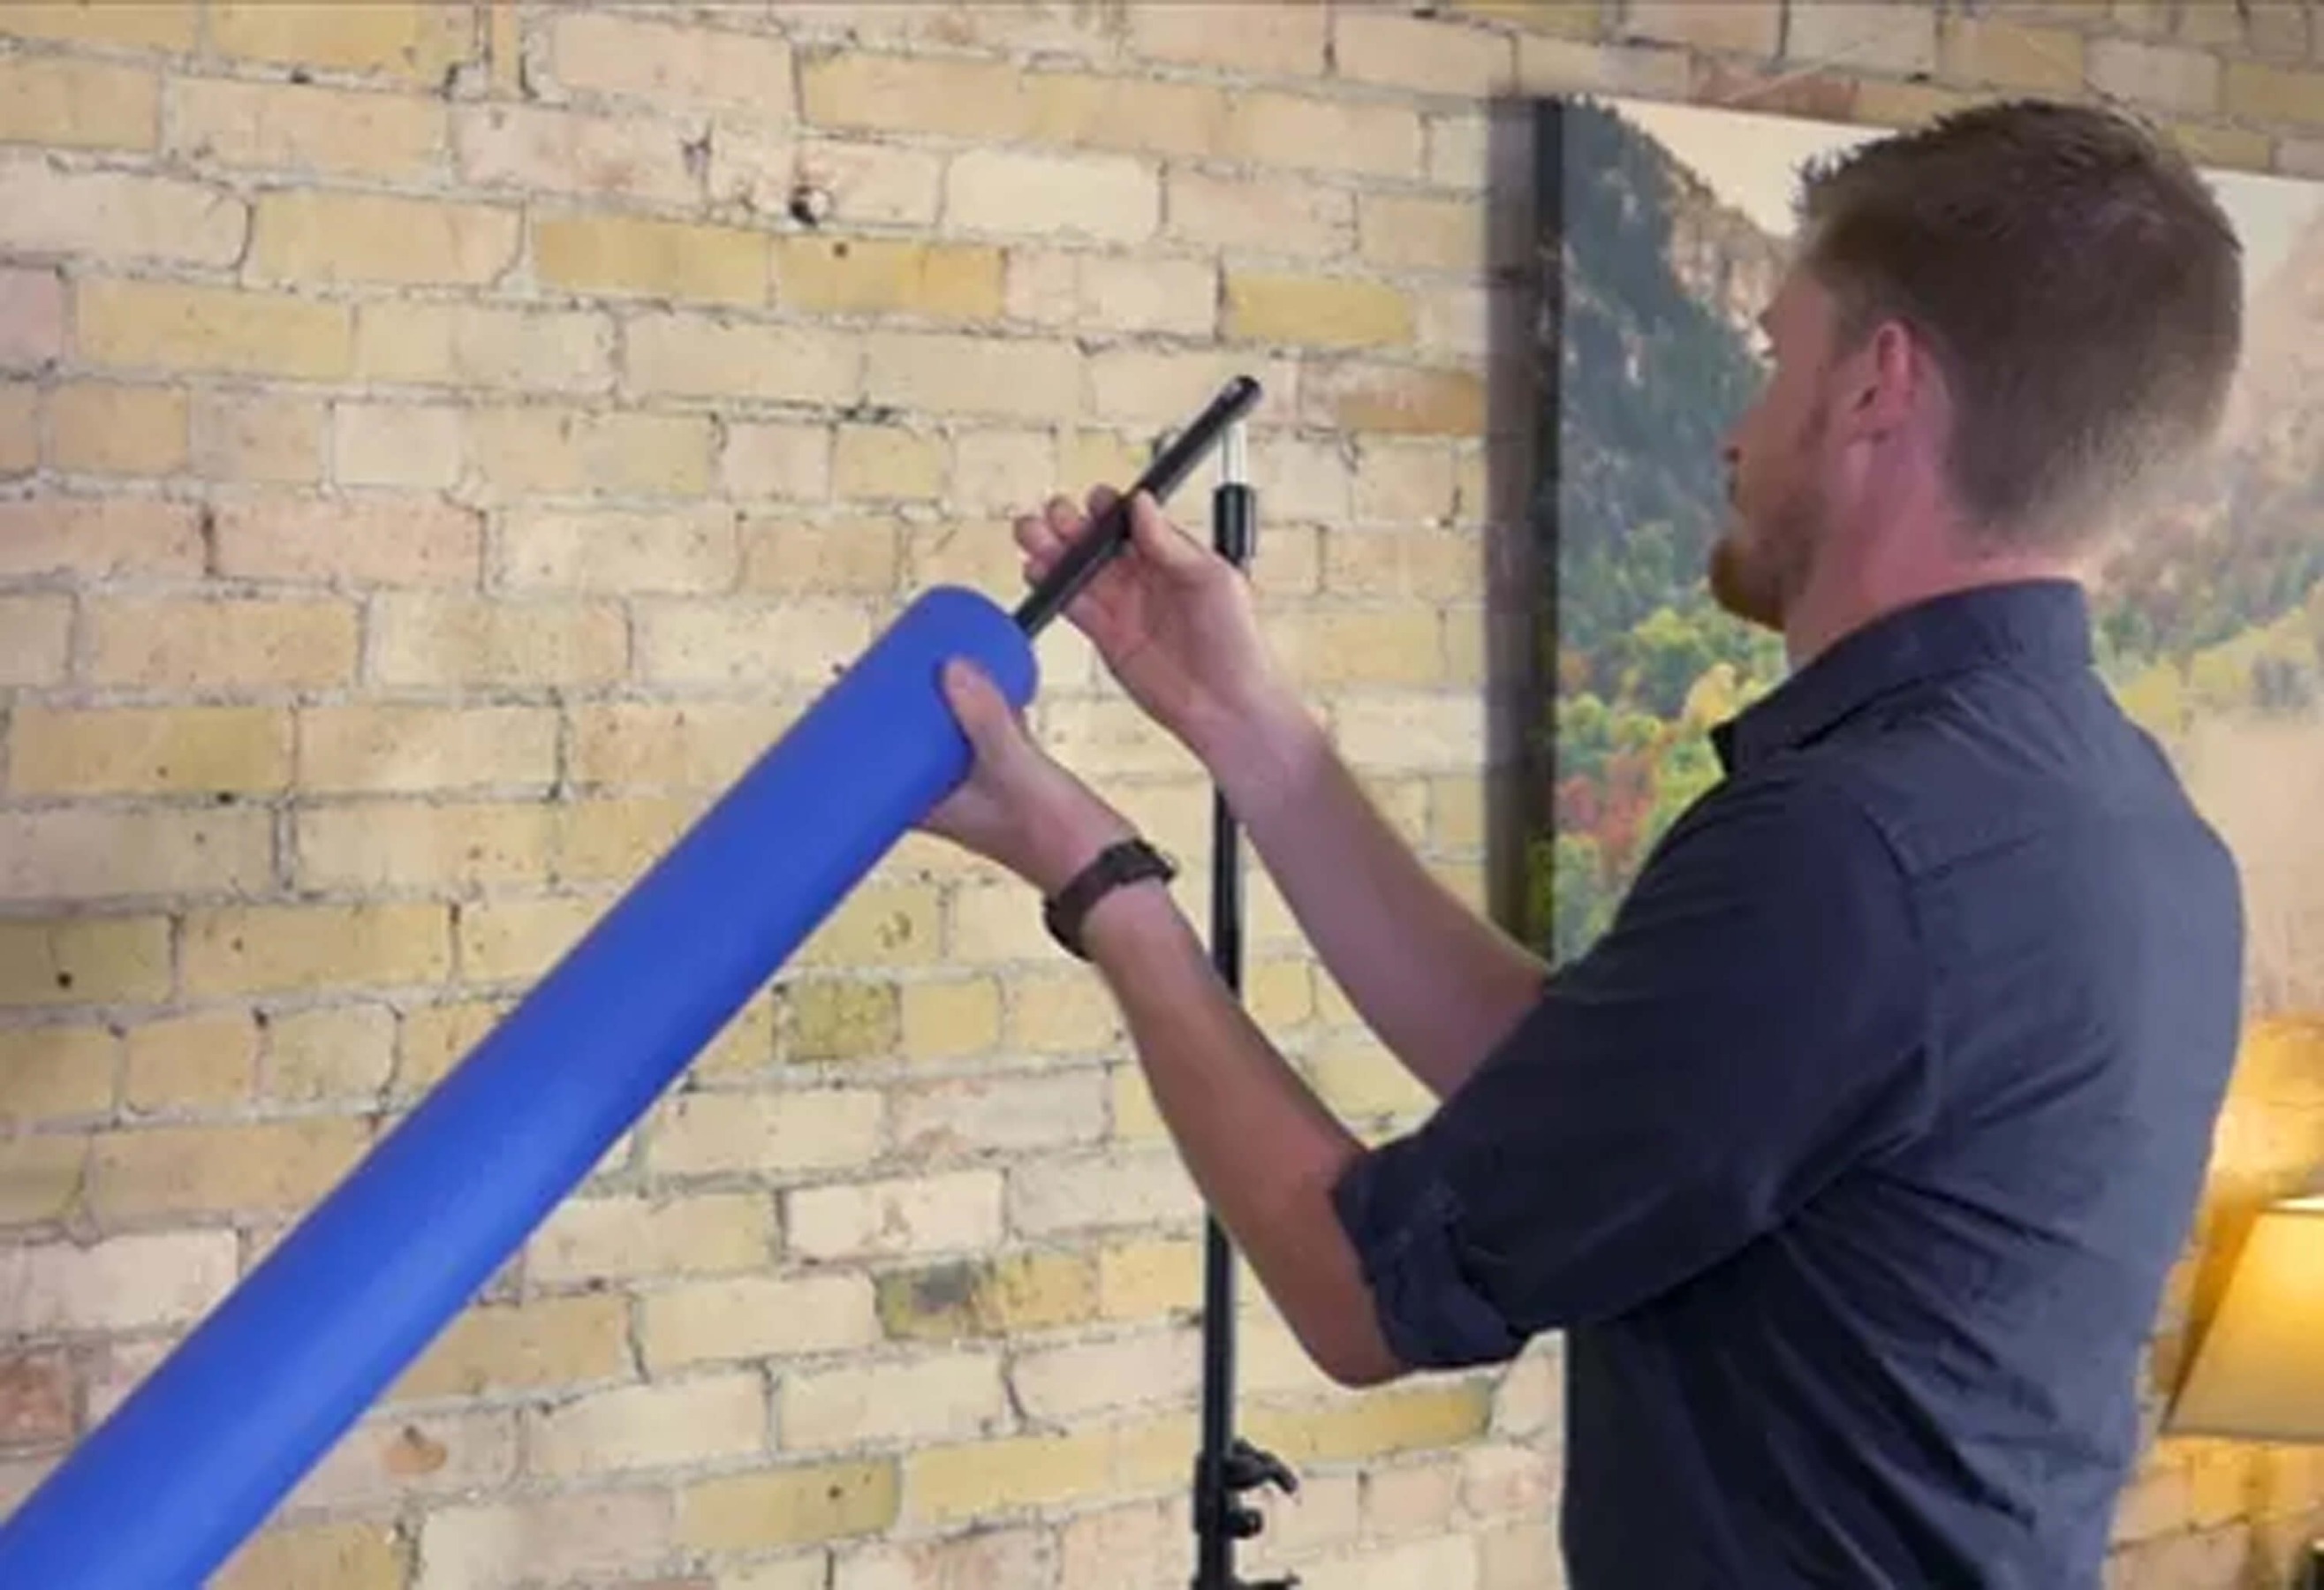
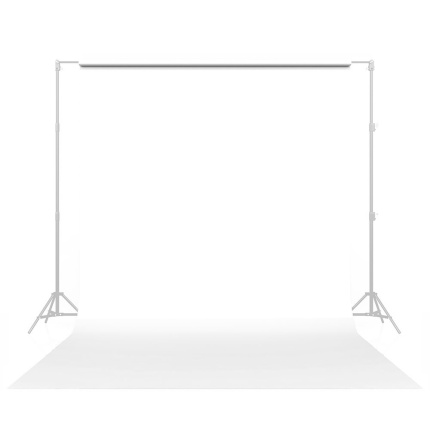
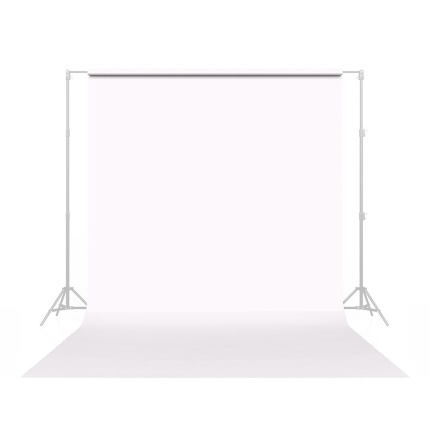
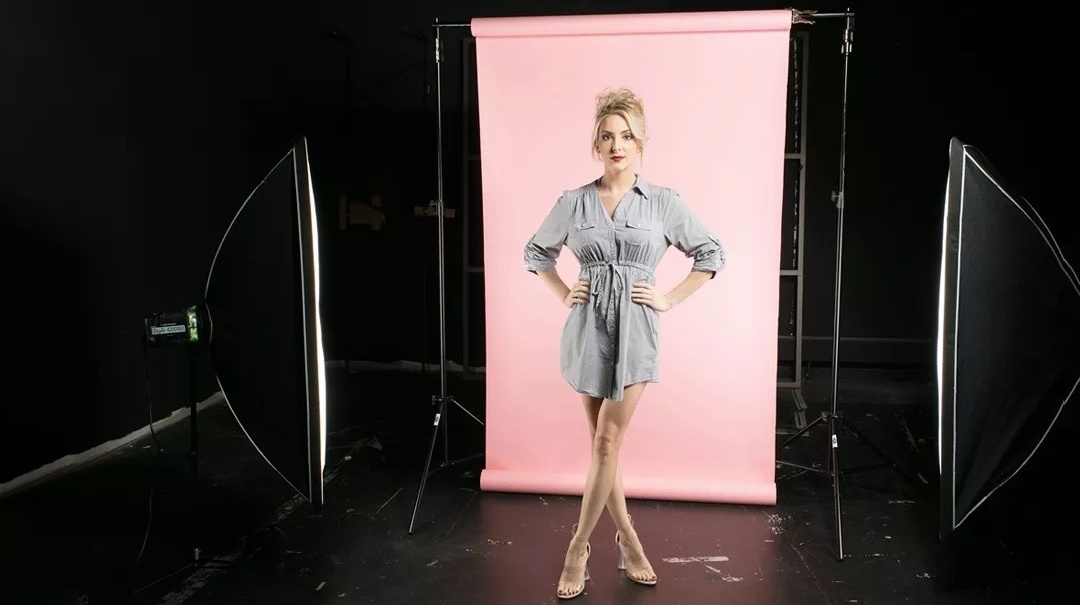
HOW TO HANG A PAPER BACKDROP
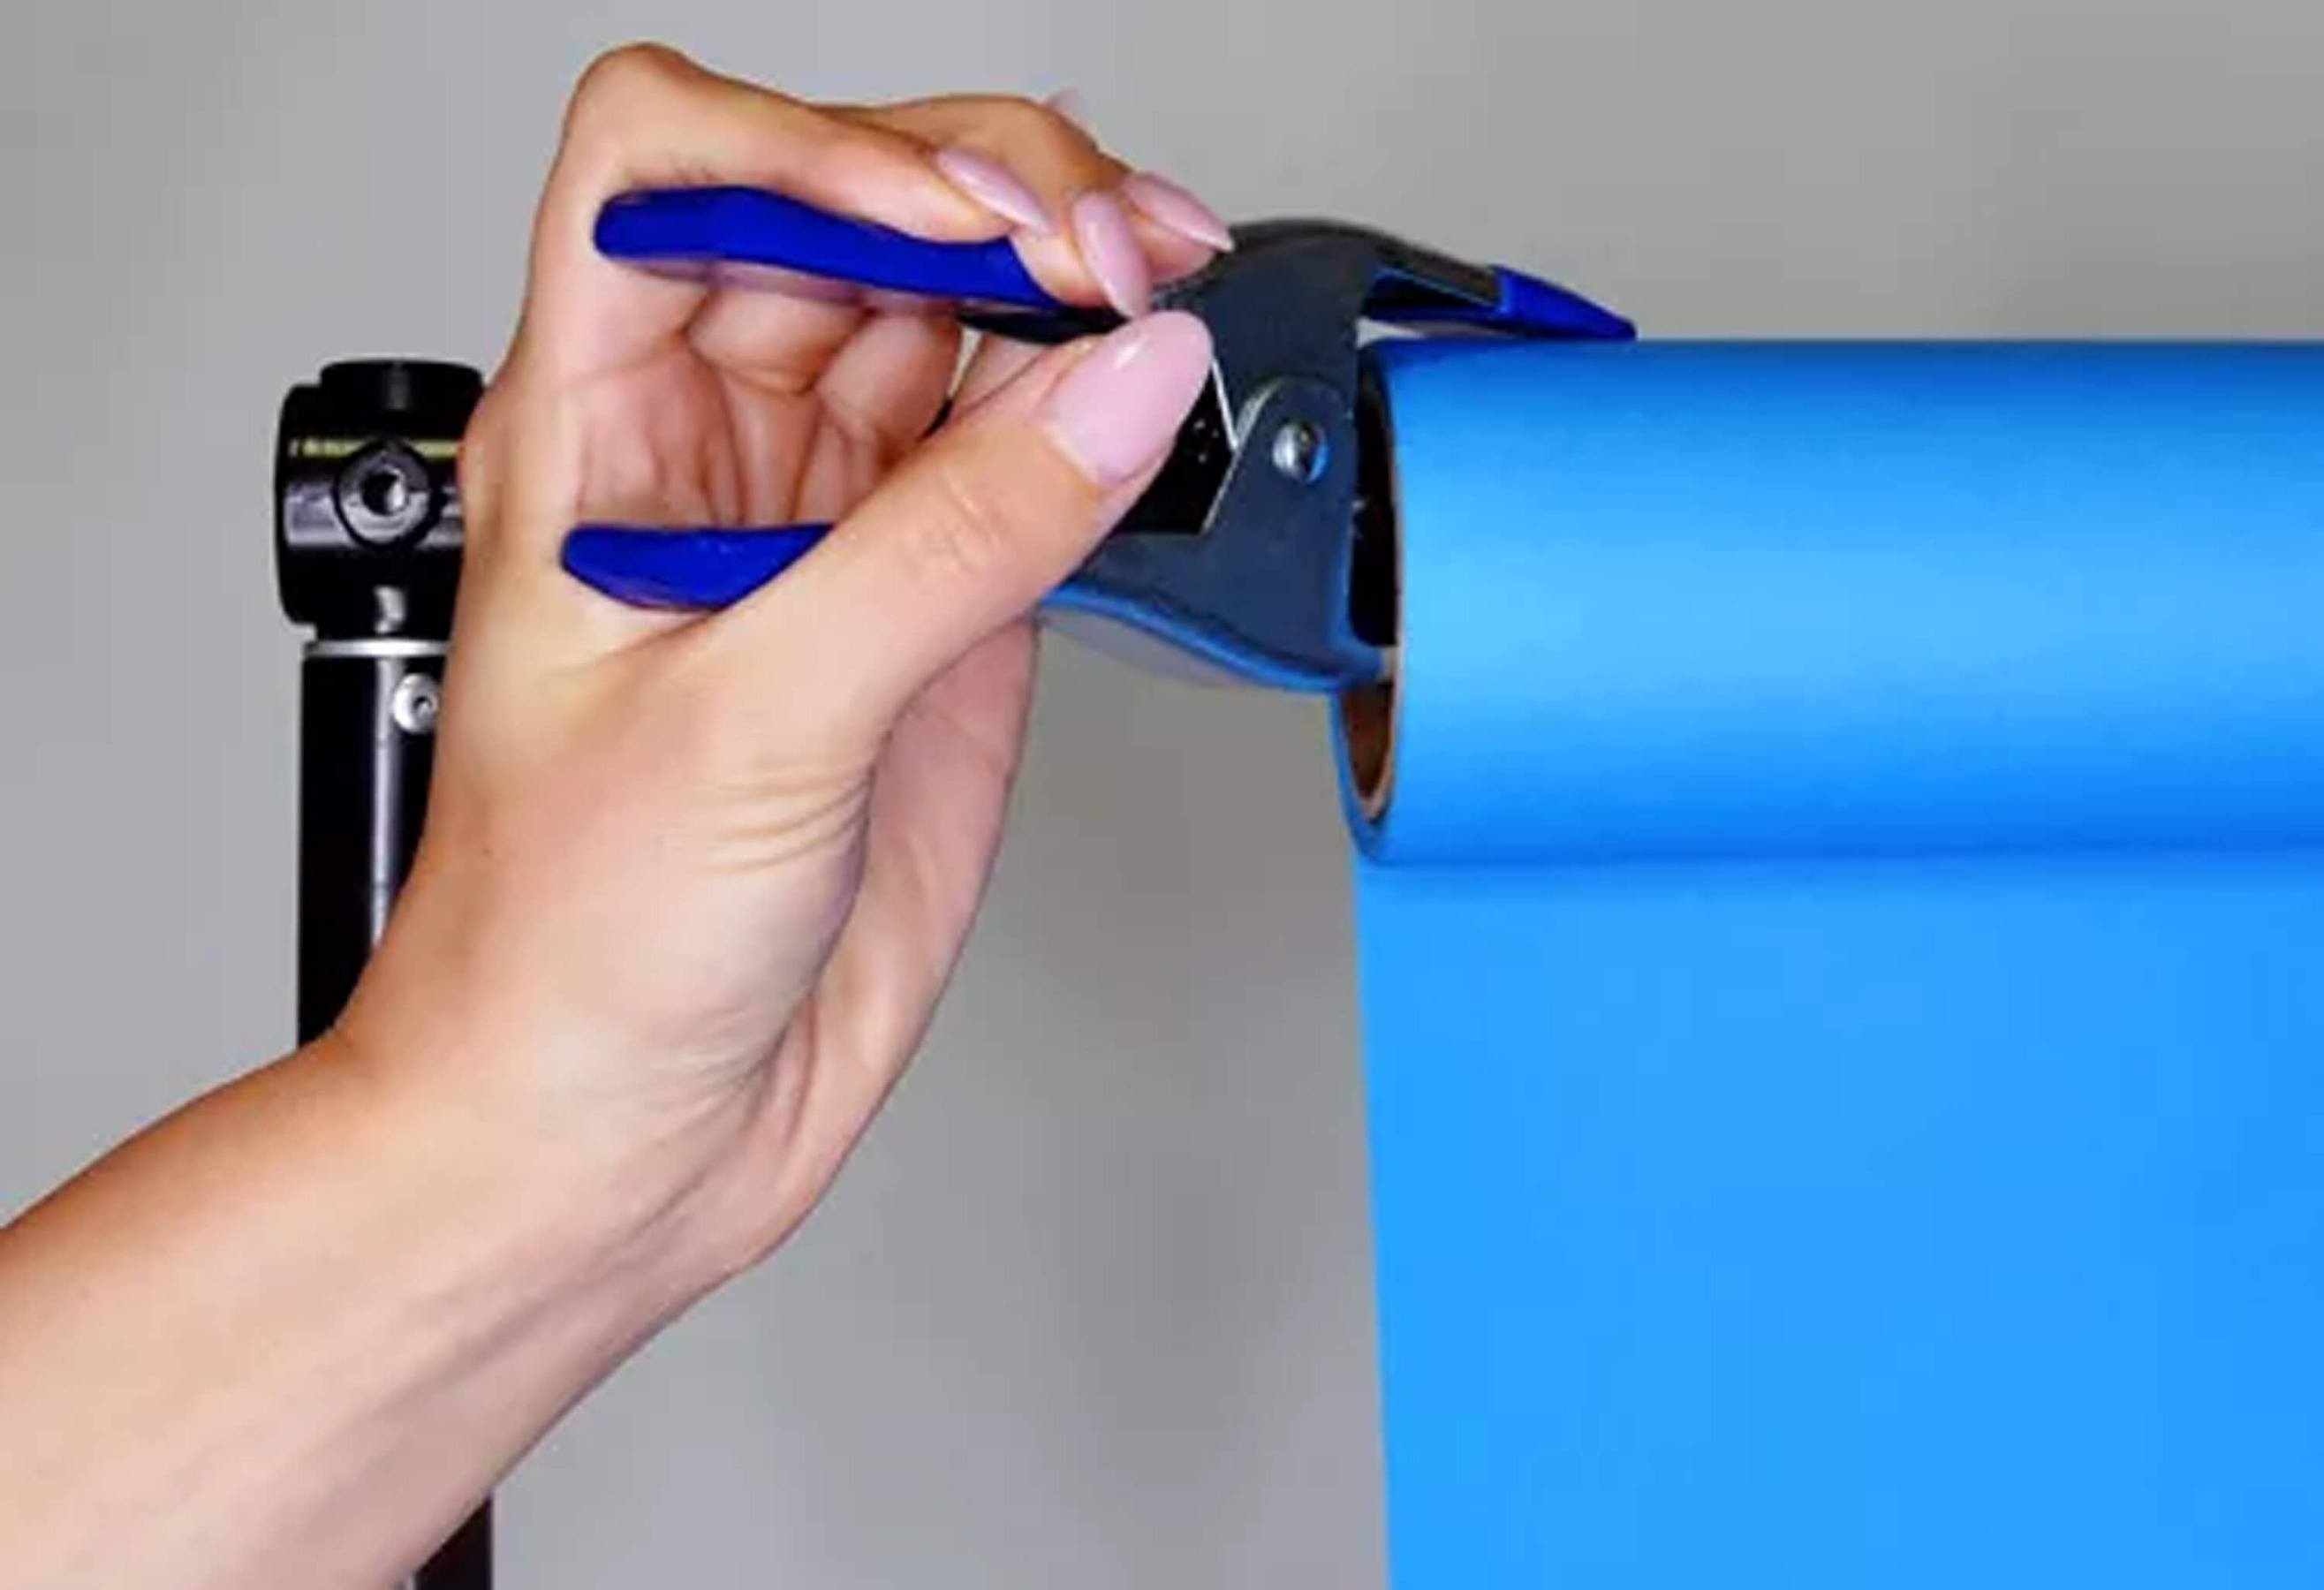
TIPS FOR WORKING WITH SEAMLESS
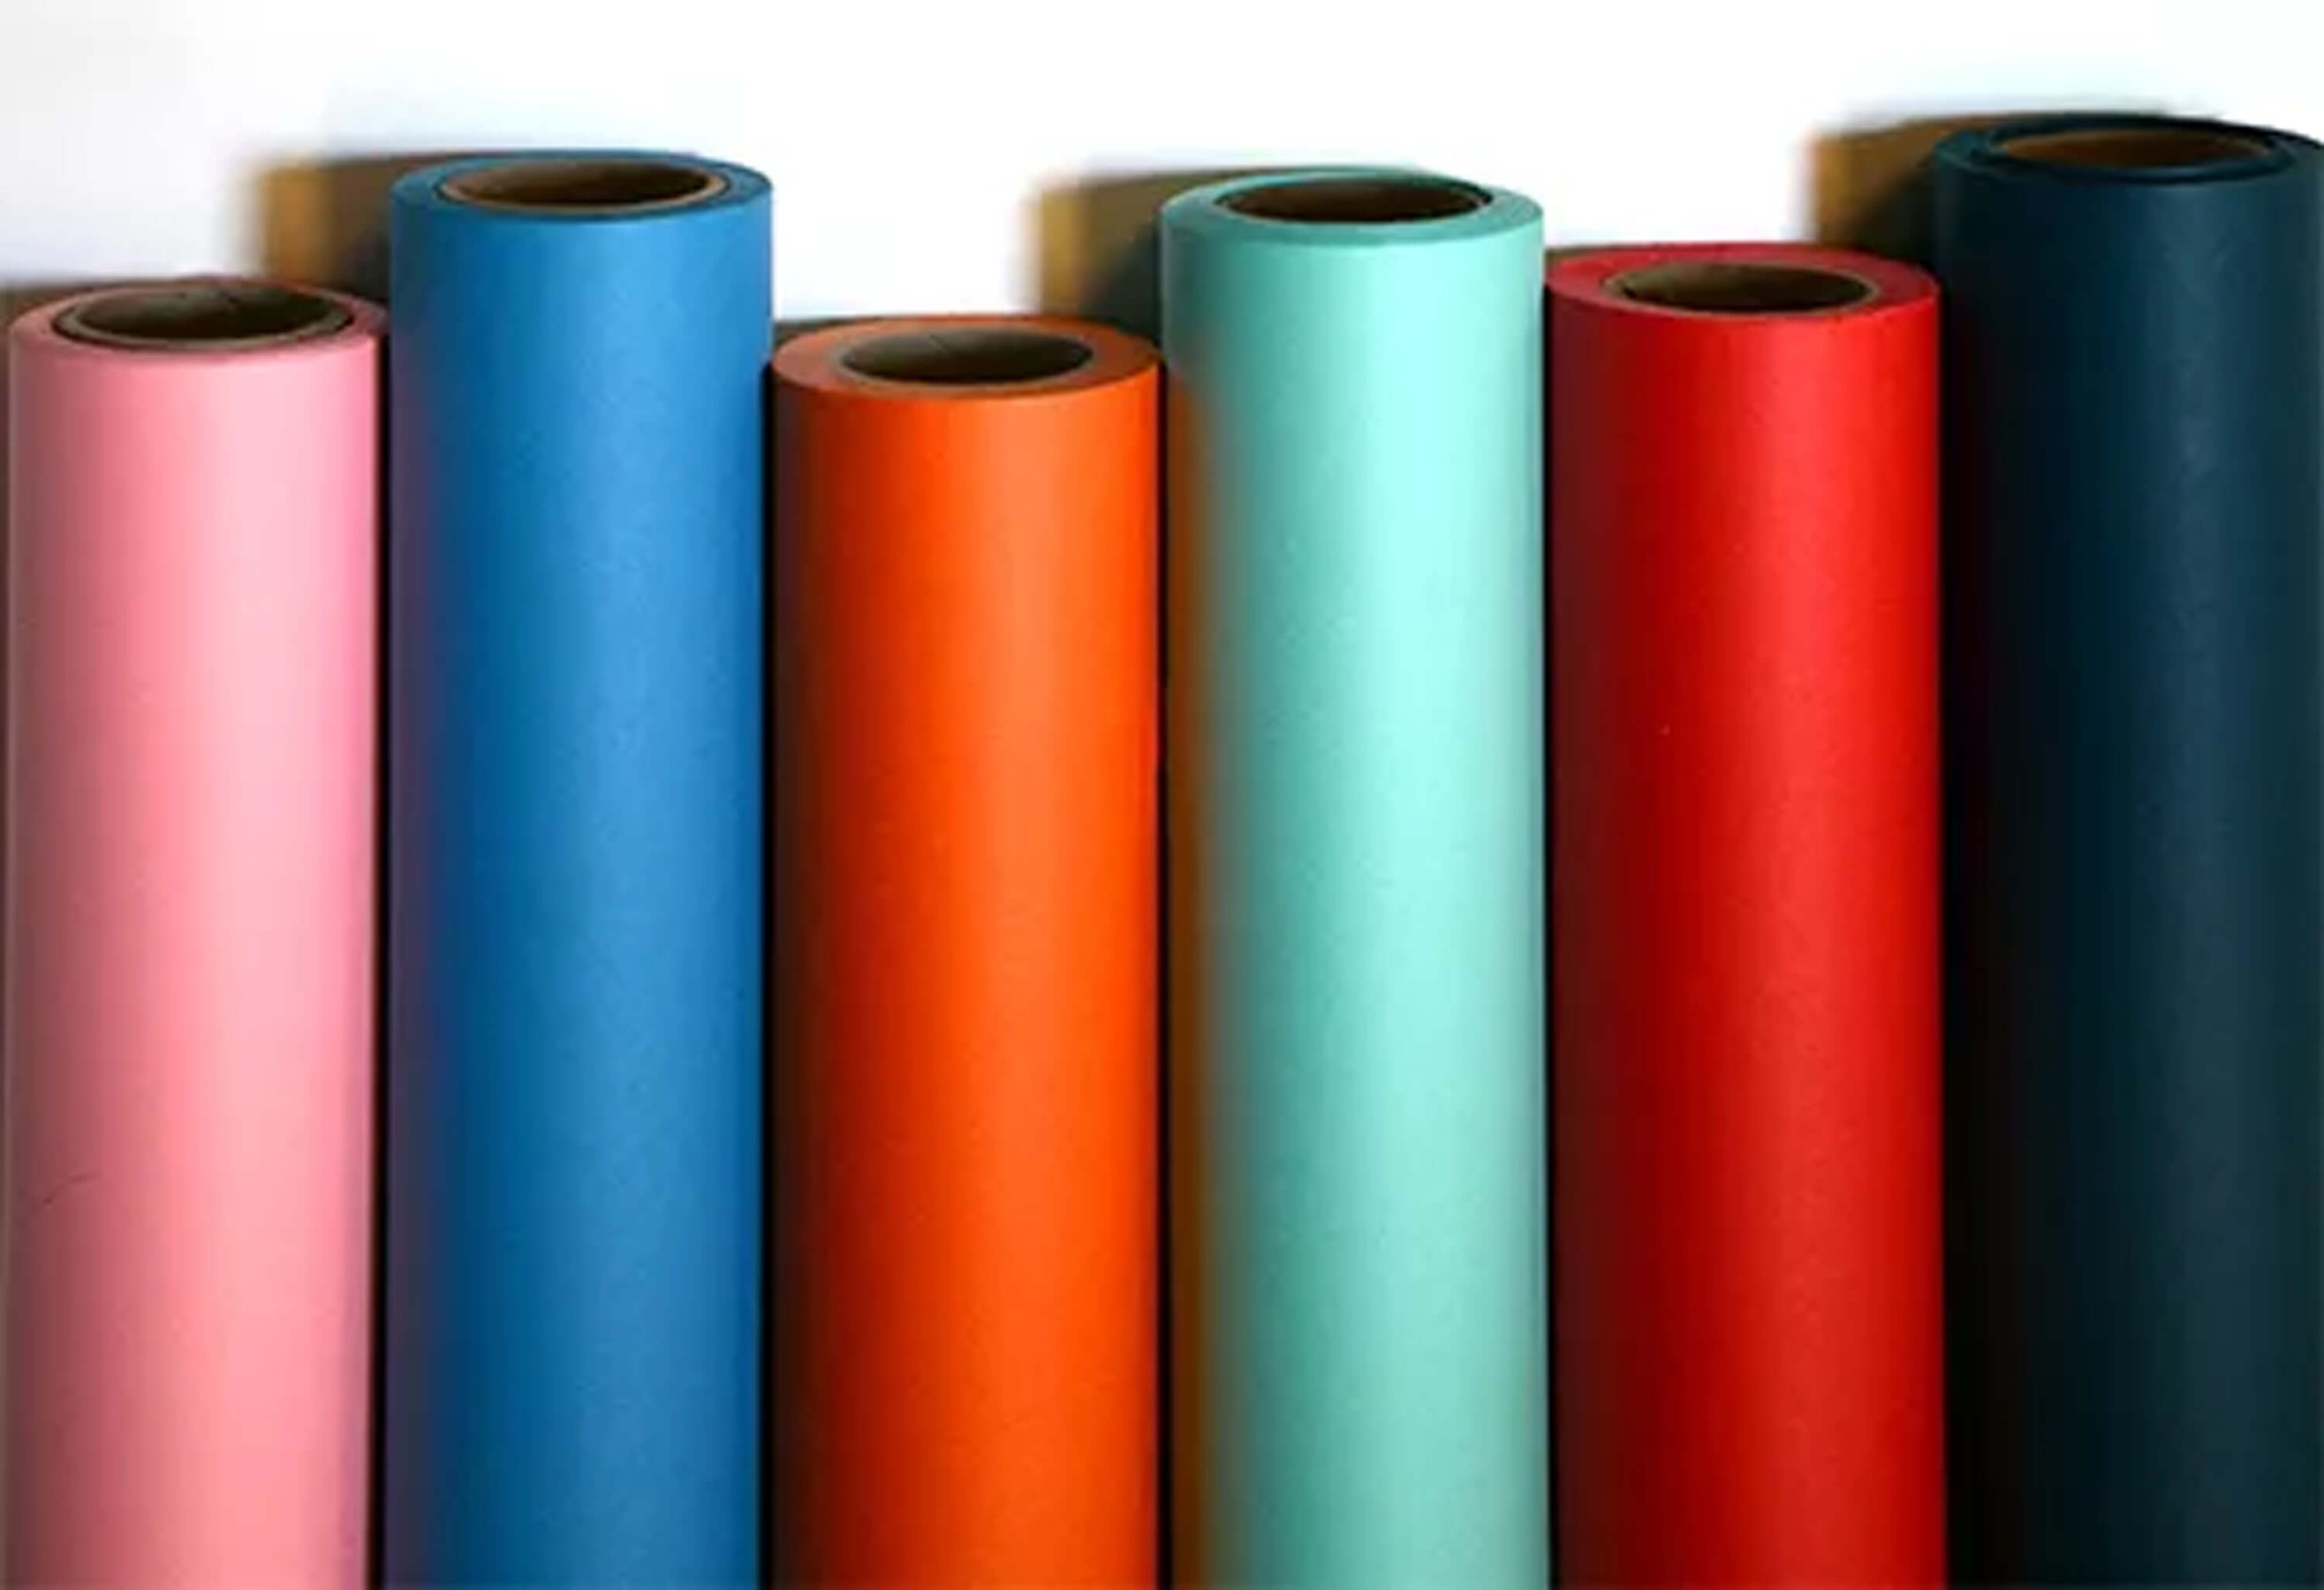
WHAT COLORS SHOULD I GET?

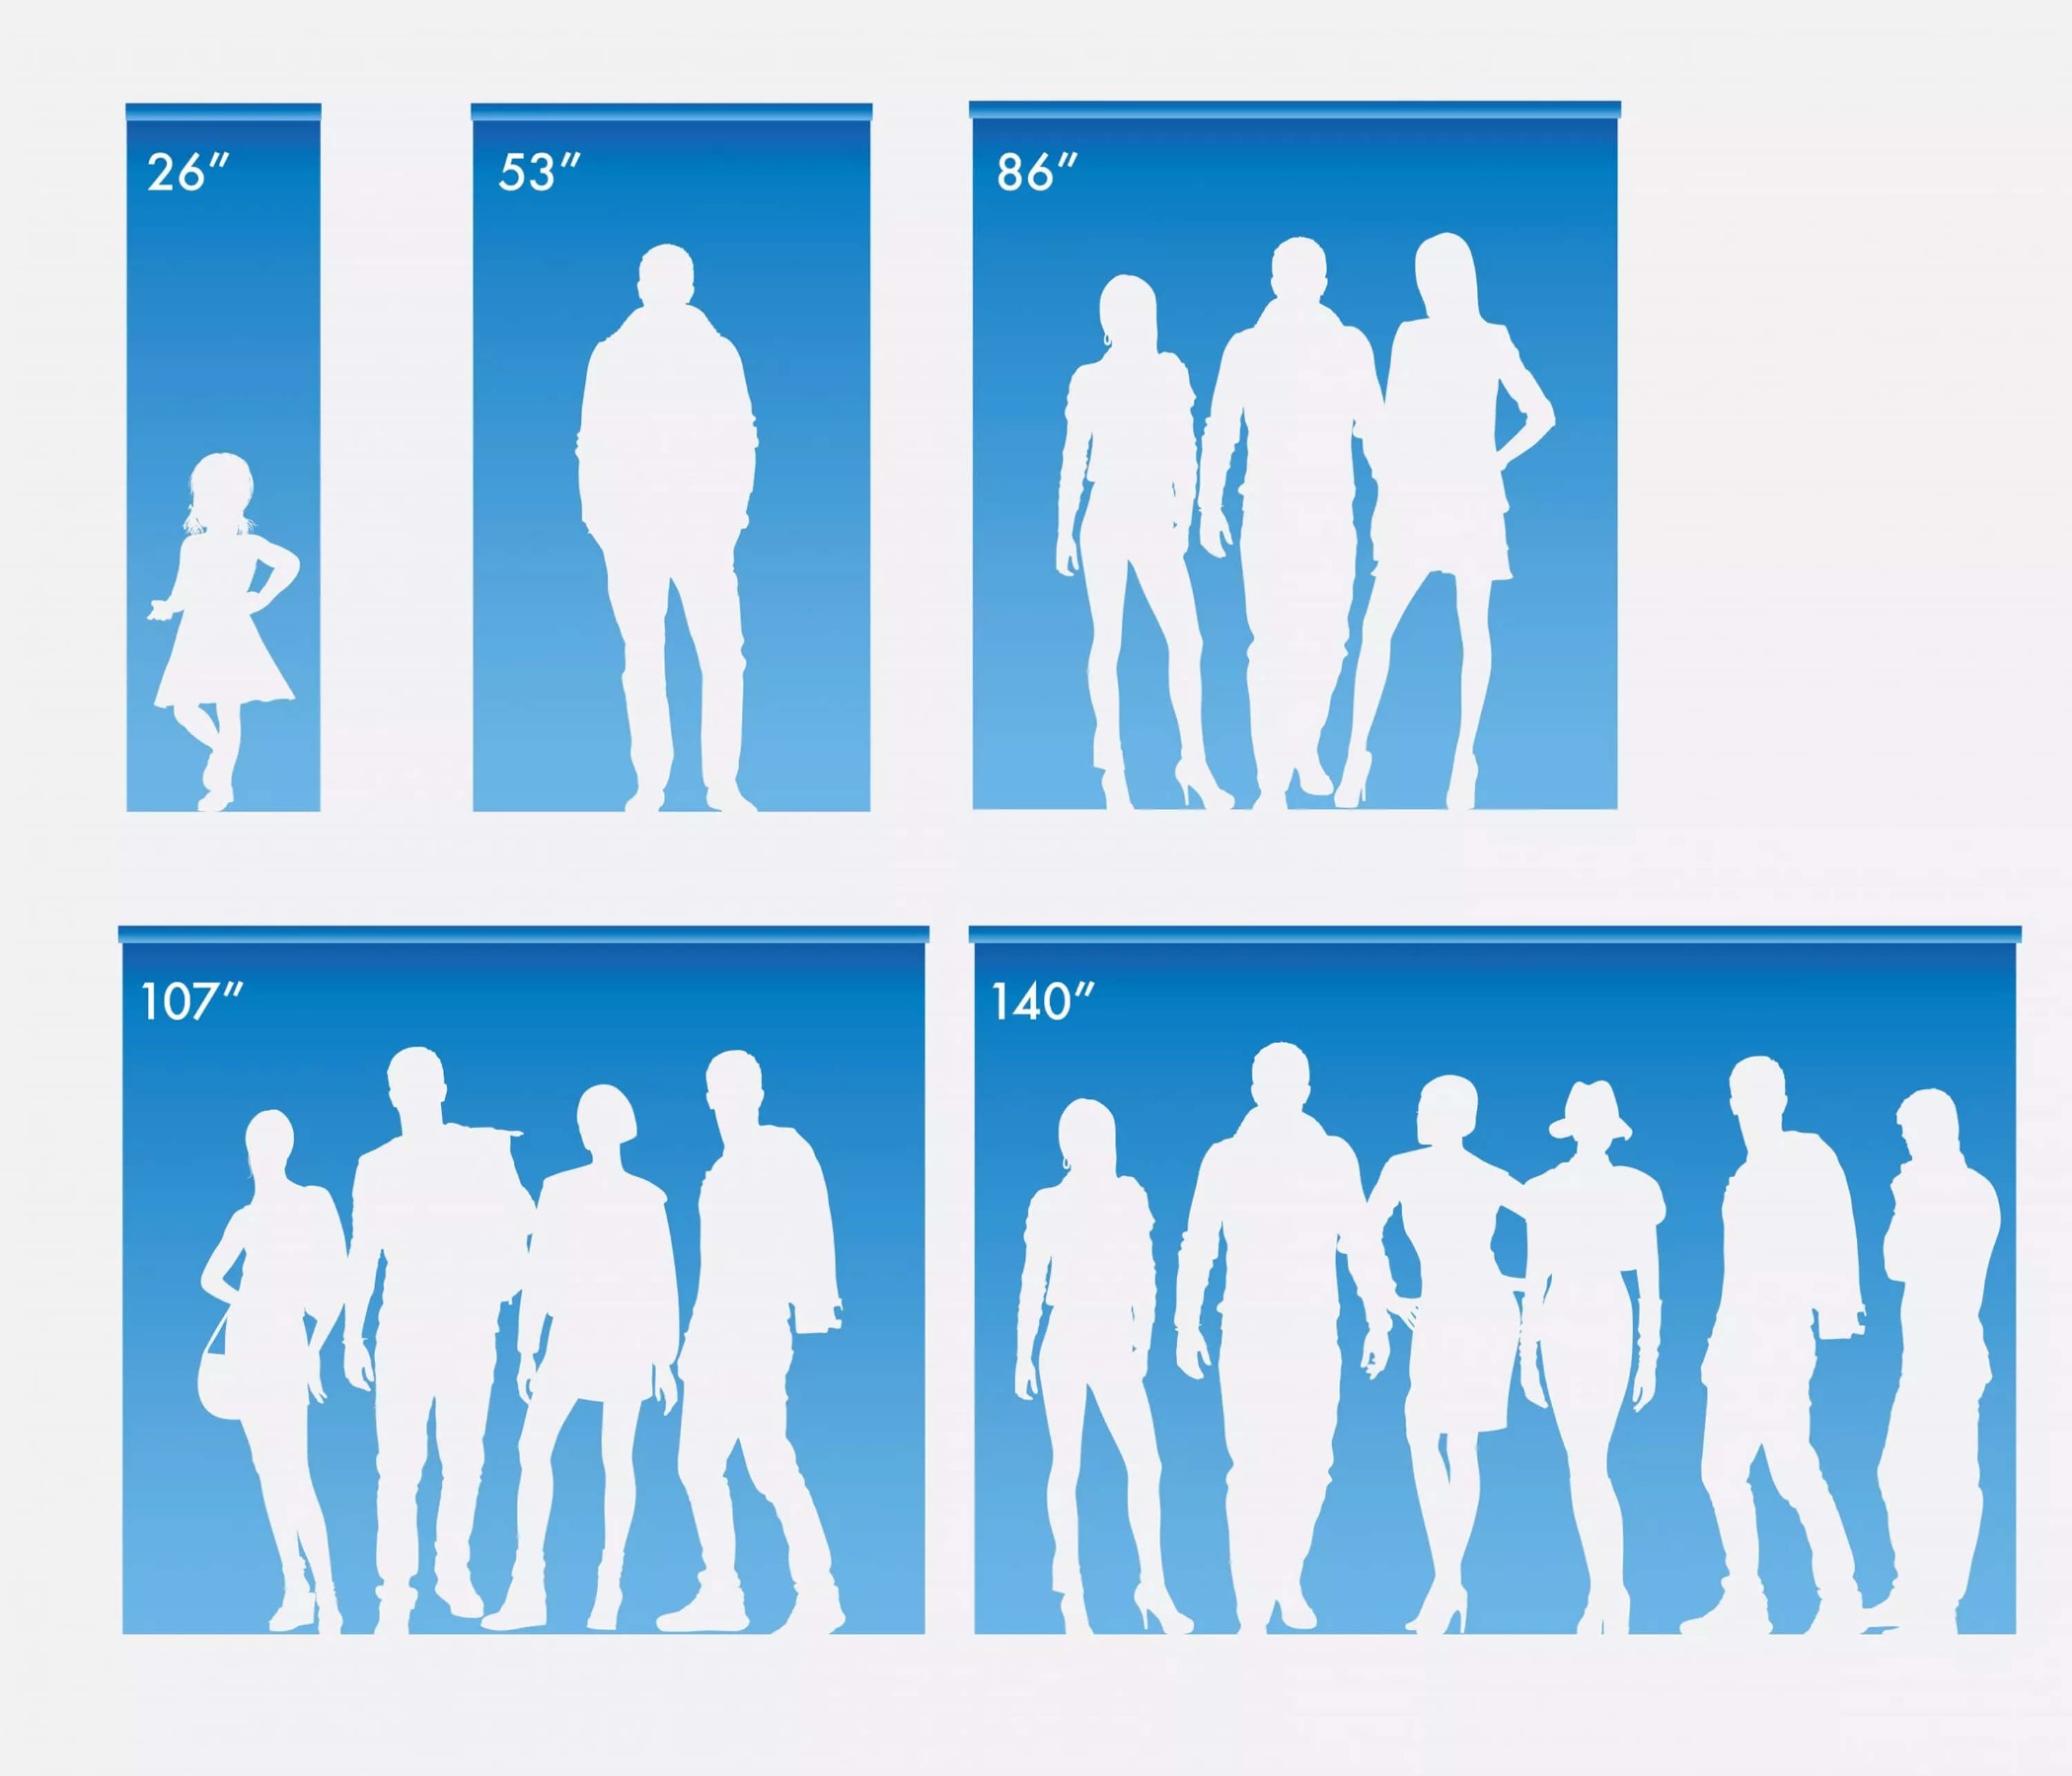
BEST BACKDROPS FOR YOUTUBE
POPULAR QUESTIONS
Check out popular questions below, or visit our full FAQs list .
Related:
-
 Fantastic Winter Fashion Photography Looks for the StudioIt’s the most wonderful time of the year for photographers… holiday portrait season! Now is a great time to review your studio background and prop...
 -
 3 Creative Ideas to Make Your Fashion Photography Set Stand OutOne of the biggest misconceptions about fashion photography in a studio is that it’s boring. Don’t let the plainness of the classic white and black...
 -
 10 Benefits of Colored Seamless Background Paper vs. GelsRGB lights and photo/video gels are wonderful, innovative tools. They enable innumerable creative concepts, and can greatly enhance an image....
 -
 Top 10 Savage Paper ColorsWondering what Savage paper colors are fan favorites amongst your photographer peers? Here’s a list of our top 10 most popular seamless paper...