


‘Chromakey’ is the process of shooting against a blue or , removing that screen color with special software, and adding in a different background. The technique originated in Hollywood back in the 1940s and started out originally utilizing blue screens because blue is the furthest color in the visual spectrum from red, which is the main color in human skin tones. Nearly seventy-five years later that has changed. Most, if not all movies using this technology, are using green screens today.
Here’s why:
Digital sensors, unlike film, are highly sensitive to the color green. This is especially true of video chips.
Human skin tones contain no blue or green, preventing any background interference.
So, the idea is to “film” your subject on a background completely contrary in color to the background so that when you get around to editing the image in your computer, you can easily separate the two. A well kept ‘secret’ about chromakey is that its success has as much to do with the photography as it does the software. You want to understand what the is looking for and set up your photo shoot for that purpose. If everything is shot right, digital masking is easy. If you shoot incorrectly, then you potentially have some very green looking clients, not to mention how long it will take in post-production to correct the glaring errors.

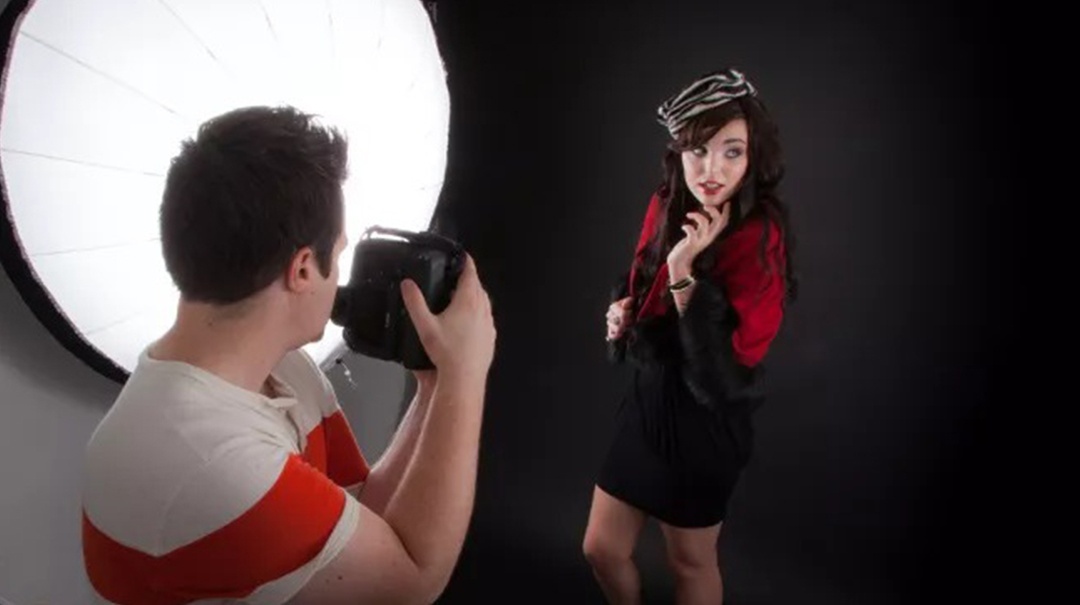
Photo Courtesy of Ryan Walsh, Featuring:
Do you absolutely need to use a green screen?
Absolutely not! If you don’t have a chromakey setup, no green screen, or blue one for that matter, there are ways of working with what you already have. Black, gray, and even white seamless backdrops are a popular green screen alternatives for digital still photography.
One of the most important aspects of working with chromakey in still photography is the use of materials that are polar opposites: green and red, blue and yellow. So, with that in mind, let’s talk about using black backgrounds and white backgrounds, and even mid- to dark-gray seamless paper as a means of simulating the same effect you can get with green and blue.
What is most important, as mentioned earlier, is contrast: the difference between subject and background. Using a dark gray or black background is going to require the same amount of forethought as you would when using a green background: attention to clothing and lighting is imperative. A second consideration is hair lighting: with a dark background and a subject with dark hair, it is vital that you use extra backlighting on your subject’s head and shoulders to offer some clear separation between subject and background. Remember: contrast is everything! The exact opposite can be said of photographing blond hair against a white background. If you are going to venture into this territory, make sure you use enough black gobos to create a “shadow” instead of a highlight.
Color Spills
Color spill occurs when your background infringes on your subject, thereby casting that background color, particularly around the edges like the back of the shoulders, side of the arms or legs, and through the hair. It can be a real chore, and an unsuccessful one at that, to get rid of those “ghosts” in post-production.

If you’re working in a space where the walls are close to your subject, it is helpful to paint them black or simply drape a black canvas backdrop over them. Additionally, if your lights aren’t “flagged” or controlled properly (say, with a softbox covered with a honeycomb or an egg crate), they will scatter light all over the place, making it impossible to eliminate extraneous light both on background and subject. The black material will absorb excess light and prevent those difficult to eliminate color spills. This is especially true when using a white background.
Follow these guidelines for any color backdrop you choose:
Position your subject 8-10 feet away from the background.
The background must be as evenly lit as possible. The great advantage to using a black seamless is not having to light the background, thereby reducing the need for additional lighting, which, if you’re on a limited equipment budget can be a life and pocketbook saver!
The background should be about one stop below the foreground.
Use the least amount of light possible to get a flat background.
The color used for your background should NOT be present in the subject.
Other than the suggestions above, there are no real hard and fast rules for lighting a chromakey shoot. The correct lighting depends upon how much room you have, what equipment you have, and what subject you are shooting.
So look around your studio and use what you already have or buy seamless paper that fits into your regularly scheduled shooting. The methods you use may suit only you, and working with your standard backdrops will encourage you to think more creatively, which can only be a good thing for you as an artist.