


or blue screens are used as backdrops in chroma key photography, which is a process that replaces a solid-colored background from behind the subject of a photo (or video) with a new background. When you watch the weather forecaster on TV standing in front of a map, or Spiderman climbing down a building, you, my friend, are seeing chroma key photography at work!
You may be wondering, “Why use a green screen or a blue screen?” Because separating a background from a human subject in a photo or video is much easier if the background is made of a solid color which is not found in human skin tones, like the colors green and blue. (Remember, we’re talking humans here, not Martians or Smurfs.) The practice of chroma keying can seem daunting at first, so be sure to read through this guide to green screens to get started on the right track.
Tools for Getting Started with Green Screens
Can a beginner really do this? Removing and replacing photo backgrounds does sound complicated, doesn’t it? Not to worry! With digital photography and software designed specifically for this purpose, you can be swapping backgrounds with the best of them in no time. Here’s what you’ll need to get started:
1. Digital camera. You’ve got one already, right?
2. A computer. Either a PC or a Mac is fine.
3. A cable to download images from camera to computer. (Duh.)
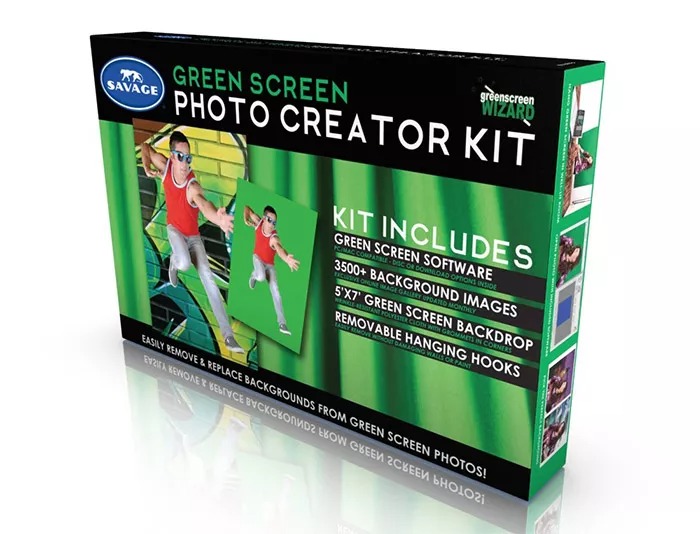
4. Chroma key photography software. As with most software, you’ll run into a lot of green screen programs that are only compatible with PCs. But there are some made for both types of operating systems. For example, the by Savage is compatible with both PCs and Macs.
5. . There are many on the market, so before you buy, carefully consider how you’ll be using yours. For an occasional fun shot, or as a frequently used tool for your photography business? For studio shots only, or mostly for outdoor sessions? Here are the differences to consider:
SIZE: For example, 5’ x 7’ for photographing individuals, or 10’ x 20’ for group shots or full-body pictures.
PORTABLE vs. STATIONARY: a collapsible pop-up screen or a rolled-up backdrop.
MATERIAL: If you’ve taken a look online at green screen backdrop options, you’ve no doubt seen them in several types of material.paper
fabric (muslin, polyester)
vinyl
foam-backed
paint (to color a wall in your studio)
Whatever you choose, stay away from glossy or shiny materials since one of the issues with chroma key photography is the bounce-back color from reflective backgrounds. (More about this later.)
Read more: How to Choose a Green Screen Backdrop
Featuring:
6. : If you have a studio and have been using other backgrounds, you may already own a stand to hang backdrop rolls from. But if you don’t have a studio set up, or the money or space for background stands, look for one of the smaller, that comes with hanging hooks or a portable stand.
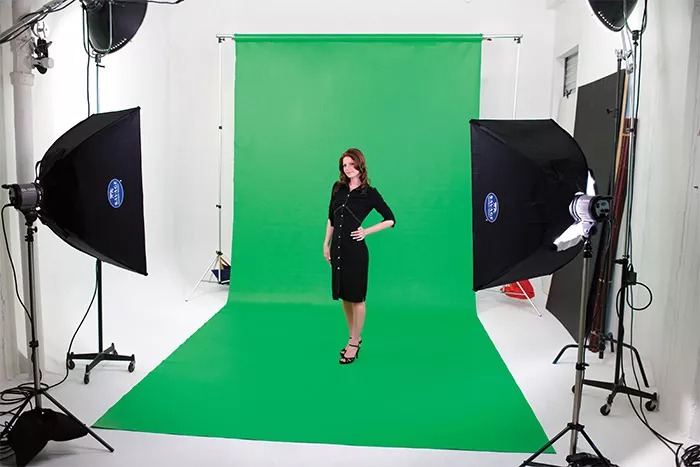
7. : Getting the best possible contrast between your background and your model is key for chroma key work, so you’ll need a well-lit green screen. For outdoor shooting in brightly lit areas, you’ll probably be fine with natural light. But for indoor shots, you’ll need professional equipment.
8. : Here’s the fun part! Selecting a new photo background for your subject. Let’s say you want the look of a studio backdrop. You can select digital backgrounds that look just like muslin. Or if you prefer your subject in a more natural setting, look for digital backgrounds with trees, mountains, or waterfalls. For fun shots, there are backgrounds of famous landmarks, or you can put your subjects in a frame with a holiday greeting on it. The available choices seem to be endless! The comes with an extensive image library of 3,000+ digital backgrounds to choose from!
9. Depending on your project, you may need a green screen suit! Check out this helpful video to learn how to use one.
How to Green Screen: Steps for Completing Your First Project
Ready to get started? Here are the steps!
1) Set up your green screen background. If you’re using a portable stand, figure out how to stabilize it so it doesn’t flap in the breeze or move around as your model moves around.
2) Get the wrinkles out. Foam-backed screens are virtually wrinkle-free, but more costly. If you have opted for a fabric green screen, you can get rid of wrinkles by spraying it with water or a handheld steamer. Try to stretch it tight as it dries to reduce the lines that may cause shadows in your background.
3) Set up your lighting for the green screen. You need to light the screen separately from your subject, taking care that your lighting is even and doesn’t create shadows or hot spots. Chroma key software works best when the background has uniform color across its surface.
See more: How to Light a Green Screen
4) Select your digital background for the shot you are planning.
5) Set up your lighting for your subject. Study the direction of the light in the digital background you have selected for your new backdrop. Which way do the shadows fall? Try to mimic this angle of lighting on your model. Matching the intensity of light will also help make your composite photograph look much more realistic.
6) Position your subject. Avoid shadows falling on your green screen by putting some distance between model and screen. Experiment with your own lighting and subject until you don’t see any dark shadows on the backdrop. More distance from the screen will also cut down on any reflection you might get if green light bounces off the screen. This can help avoid an unpleasant other-worldly green glow around your model—unless perhaps you’re going for that look.
7) Keep the model fully in front of the green screen. Any part of the body or costume that doesn’t have the green screen background will have a different background which the chroma key software cannot remove. Knocking out that unwanted background on your own can be a long, frustrating process with your photo editing software. So, keep those arms and legs inside the screen, kids!
8) Download your image to your computer.
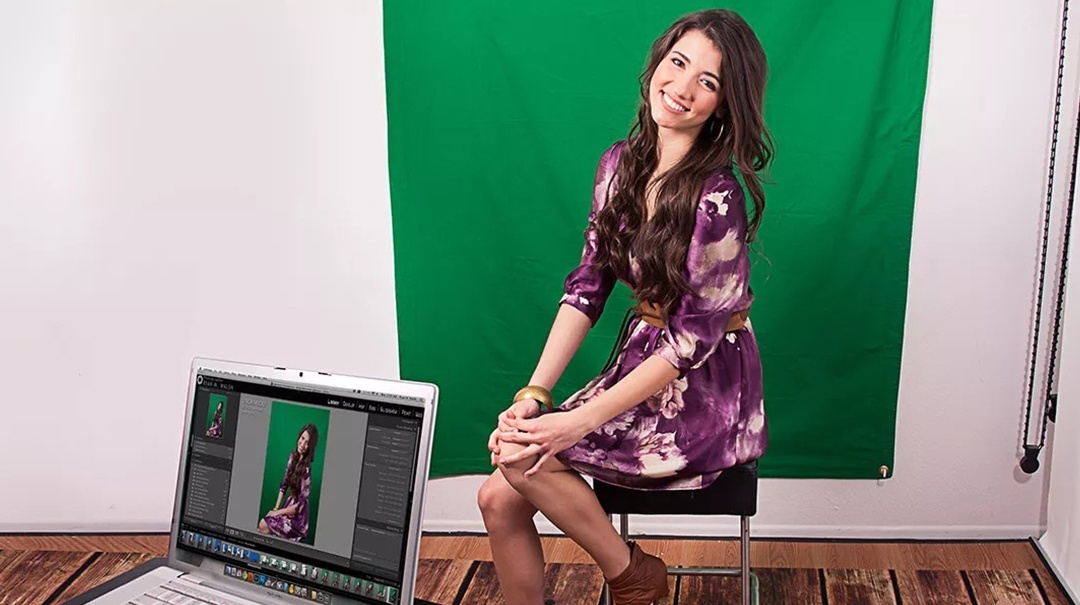
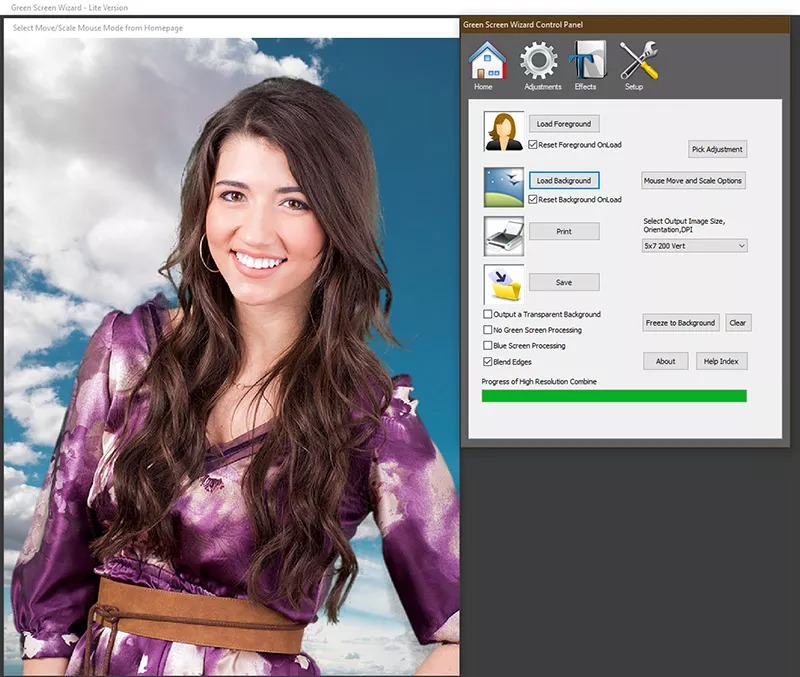
9) Select your photo, then follow the directions on your software. Easier said than done? Well, here’s a YouTube video that walks you through how to use the Green Screen Wizard software mentioned before. This particular program is adept at removing any creases or shadows on the backdrop. That would be a great feature if you’re just starting out with green screen photography.


Presto, change-o! You did it! Now, enjoy the result of your first try using green screen photography and digital backgrounds. Doesn’t it look great? And you thought you were just a beginner.