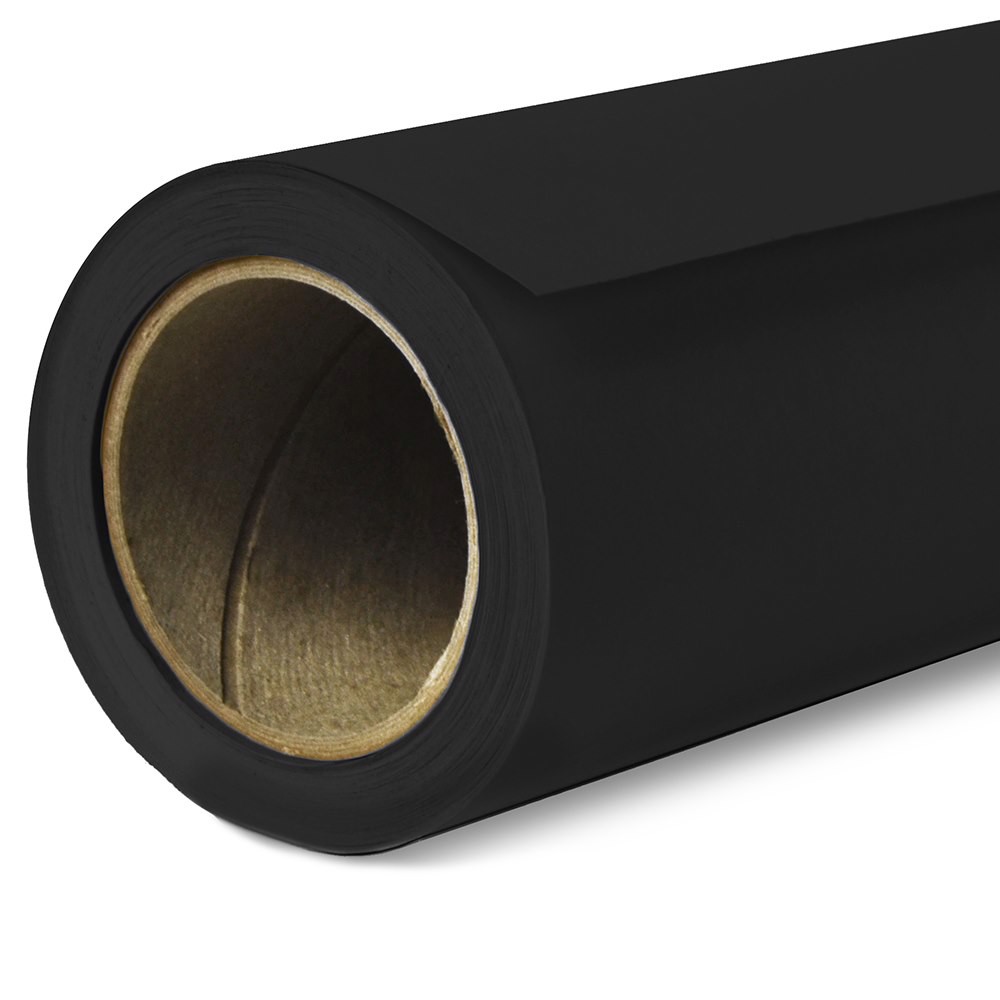
Color Banding occurs when there aren’t enough tones available in the bit depth of an image to create a seamless transition two graduating areas of color, brightness and/or saturation. Banding is often seen in images with a bright sky and can also occur with any smooth background such as with seamless paper or solid vinyl. Most frequently, the problem is seen in 8 bit images and in files that have been too heavily edited or compressed. When uploading to some sites on the internet that use strong compression methods, banding can occur in the converted image on the receiving end and that can be difficult to prevent. Here are some tips to avoid and fix:
In camera
Set your image quality to the highest available setting
Set your camera’s color space to AdobeRGB
Shoot in RAW file format (vs. JPEG)
On the computer
Edit in 16 bits per channel mode
Perform all post-processing in a PSD or TIFF file format before converting the final version to sRGB and JPEG format (which compresses the image data)
Here are two suggested approaches to correcting banding in Photoshop:
1) Blur method (effective on strong banding)
Work in 16 bit mode: Image \ Mode \ 16 bits/Channel
Copy the background layer: CTRL/CMD – J
Make the layer copy into a Smart Object (so you can modify as desired): Filter \ convert for smart filter
Add a surface blur: Filter \ blur \ surface blur (won’t affect detailed areas as strongly as other blur modes)
Zoom into an area where banding is visible in the preview window
Adjust the radus and threshold values to the lowest values that resolve the banding. Threshold will have the most impact.
Add a black layer mask. Layer \ Layer Mask \ Hide All
Select the Brush tool. [B] Select a soft brush and set the opacity to 50%
Paint with white on the mask over the areas affected by banding.
2) Noise method (effective on mild banding)
Work in 16 bit mode: Image \ Mode \ 16 bits/Channel
Create a new 50% gray fill layer – Layer \ New \ Layer… then Edit \ Fill… in “contents” field, select 50% gray
Change the layer blend mode to “Soft Light”
Add noise: Noise \ add noise
Choose Uniform, and tic the box for “Monochromatic”
Adjust the level until you see improvement
Add a black layer mask. Layer \ Layer Mask \ Hide All
Select the Brush tool. [B] Select a soft brush and set the opacity to 50%
Paint with white on the mask over the areas affected by banding.
Kyle –
Super disappointed. Arrived the box was damaged and the paper has someones greasy hand prints all over the role. Step up your game Savage. Teach your employees to not handle the paper with dirty hands.
Savage Universal Support Team –
Hi Kyle, we’re sorry to hear about the condition of your Savage Seamless Paper! If you ordered from us please contact our customer service team (https://savageuniversal.com/contact-us/), they would be happy to help! Once again we apologize for any frustration this has caused.
Rebecca Clarke –
Love this colour. Probably my favourite for head shots, but also works for low key family and children portraits. I use this one a lot!
Robin Luera (verified owner) –
Love this color! I had a shiny copper blouse against it- was great!
Kathleen Scheel (verified owner) –
A beautiful rich deep color. I use this as the backdrop for a wooden toy, and it makes the wood color pop. Very classy, crisp, and high quality.
Corey MacIntosh (verified owner) –
Blue backdrops have become standard fare for self-tape auditions. This hue is particularly deep & rich & it’s really improved the overall look of what I’ve been churning out-if you have a proper light setup to match-BUY THIS COLOR.
Jennilyn Proulx (verified owner) –
Off all the many seamless I own… THIS IS MY FAVORITE! It is also the most requested by all my clients. Especially those wanting a simple standard headshot, but also something that will stand out. The rich color just adds that little extra special.