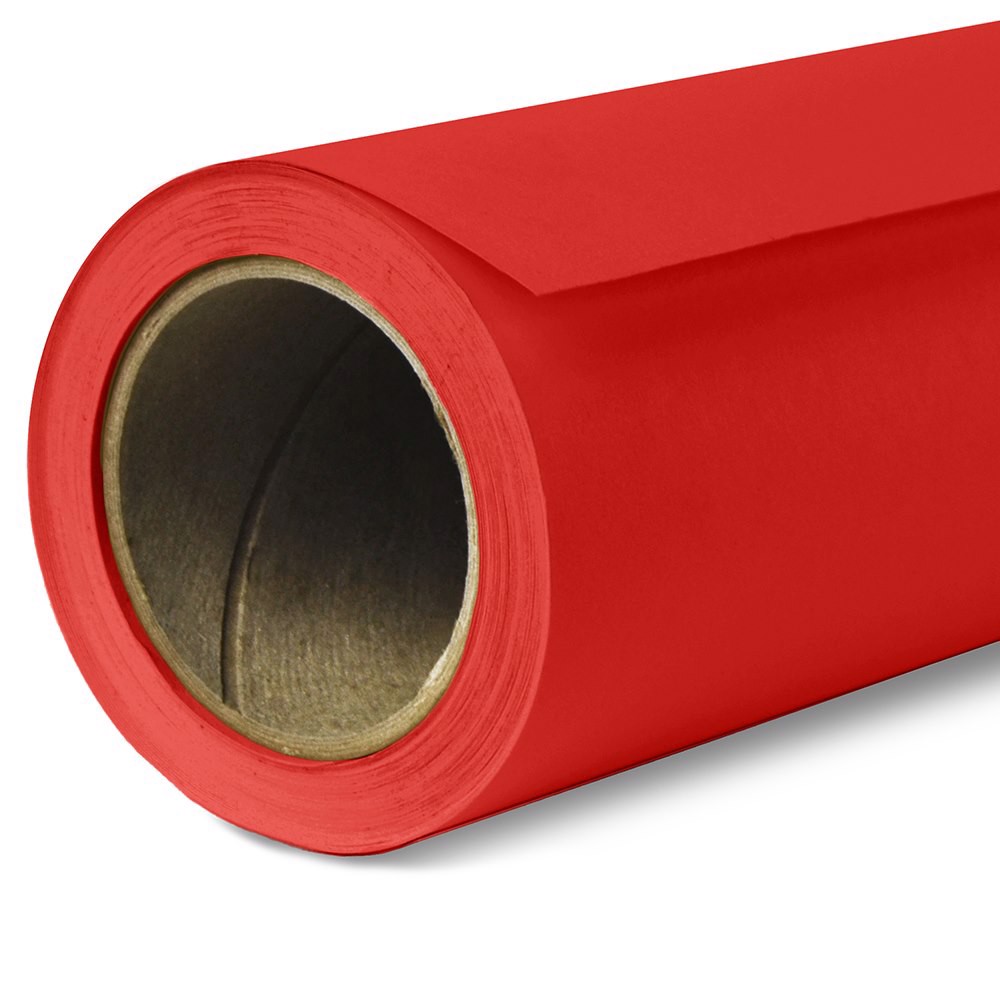
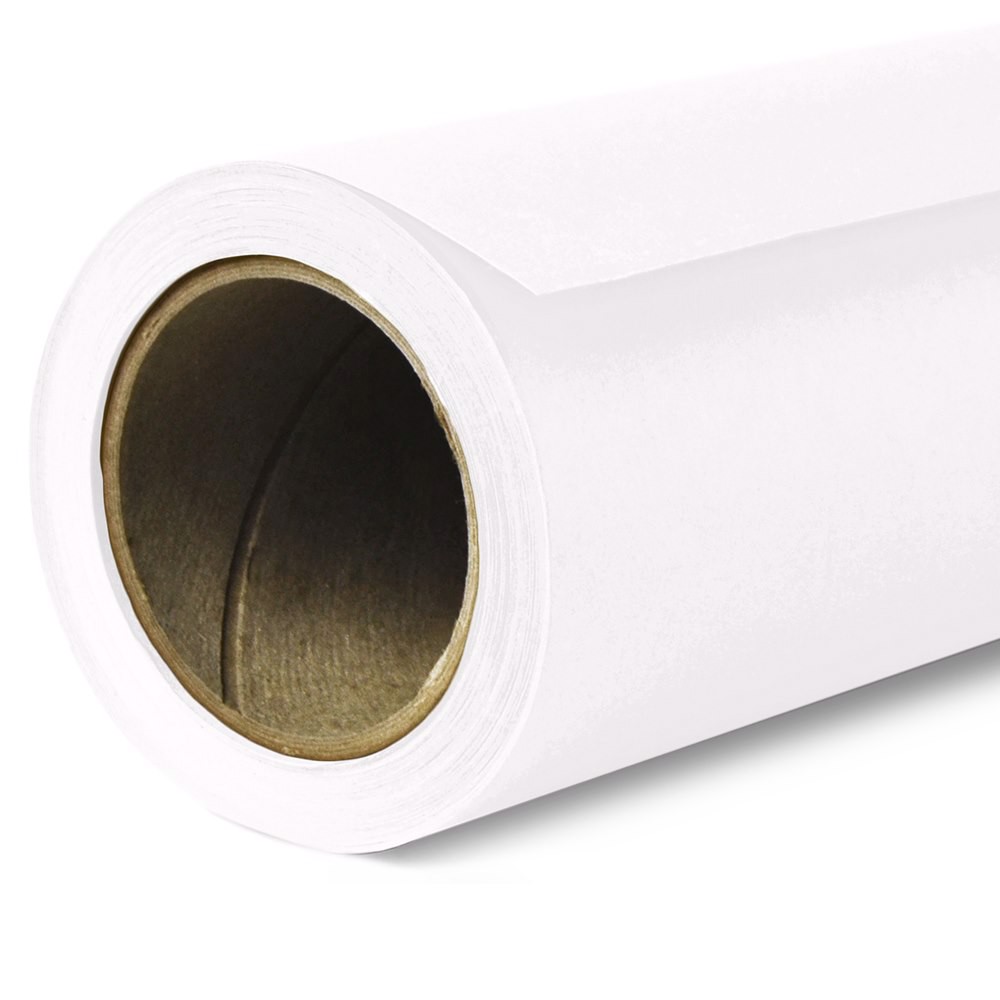
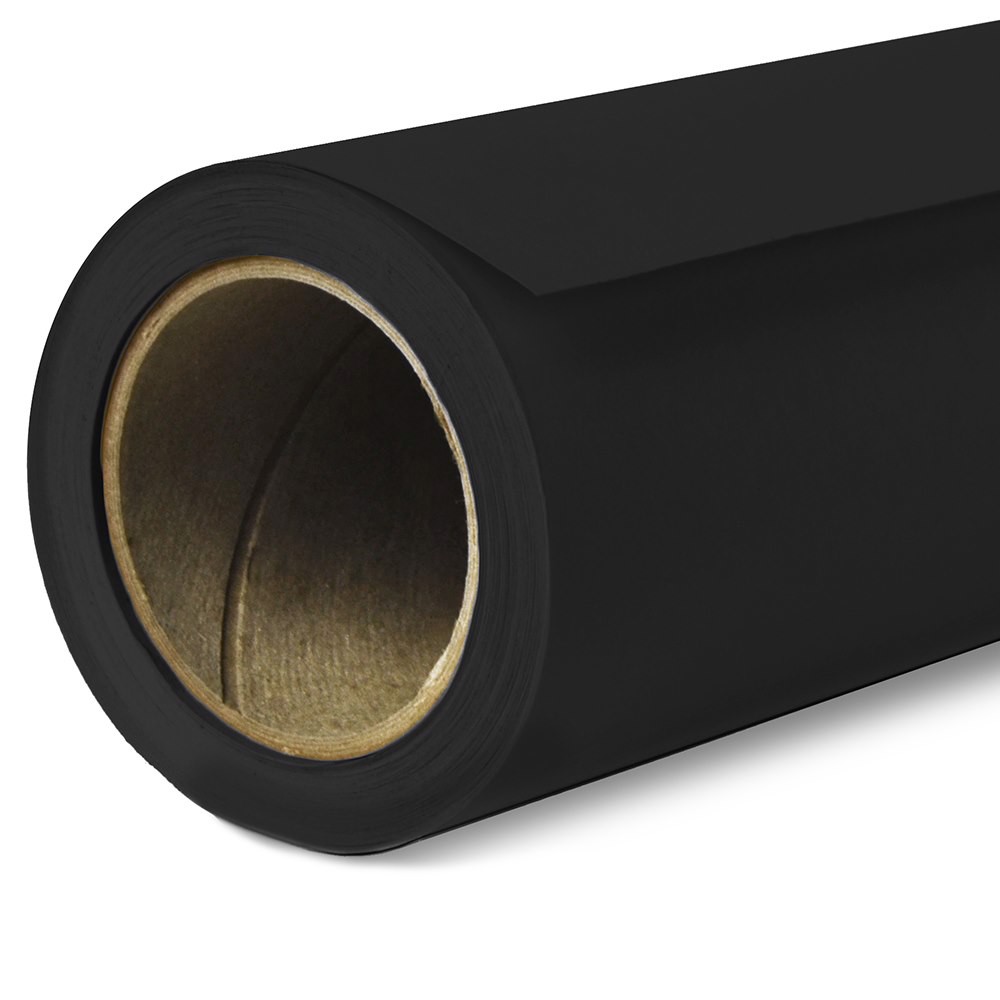
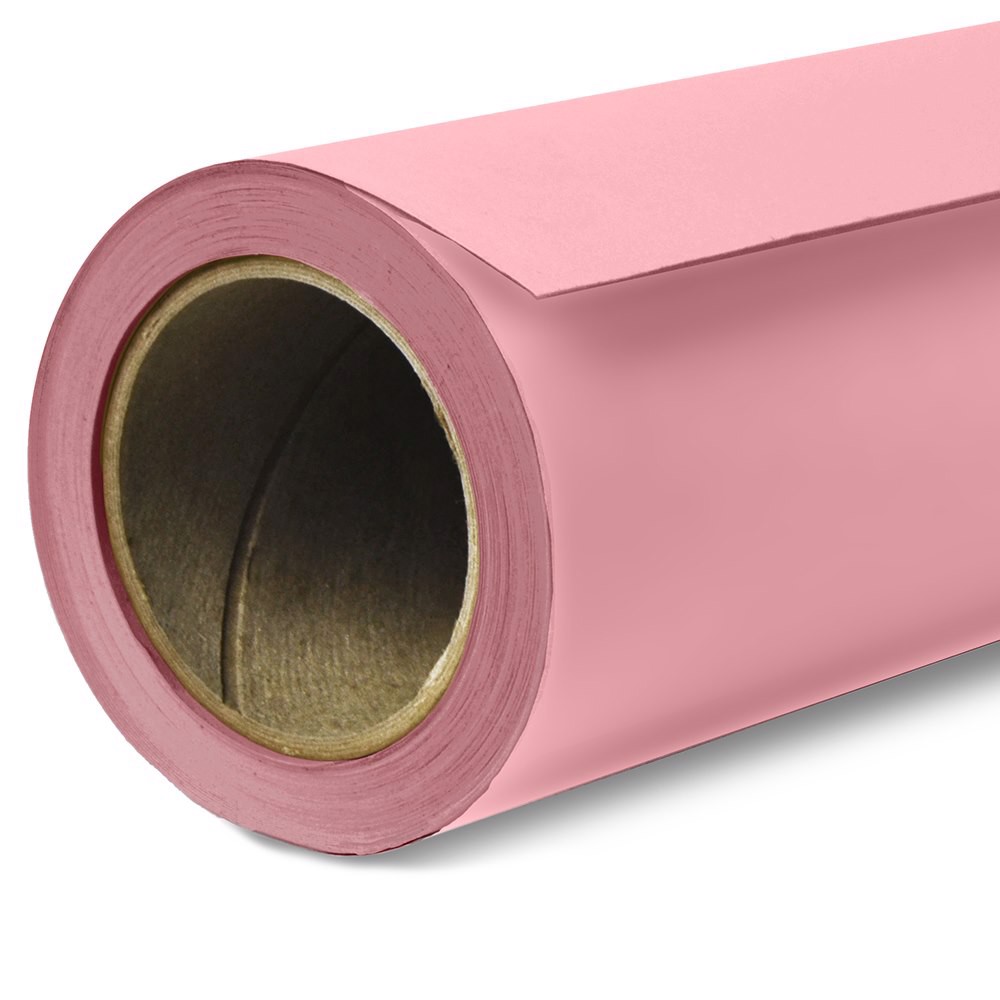
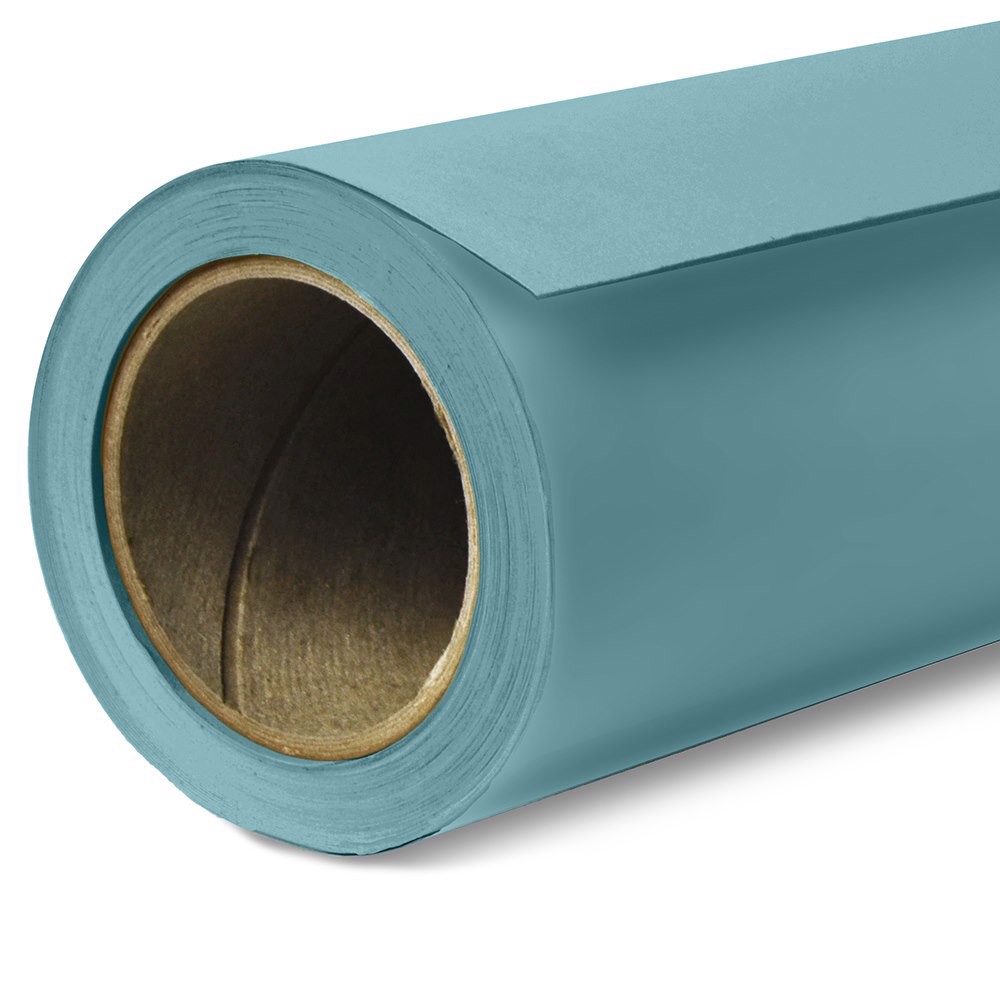
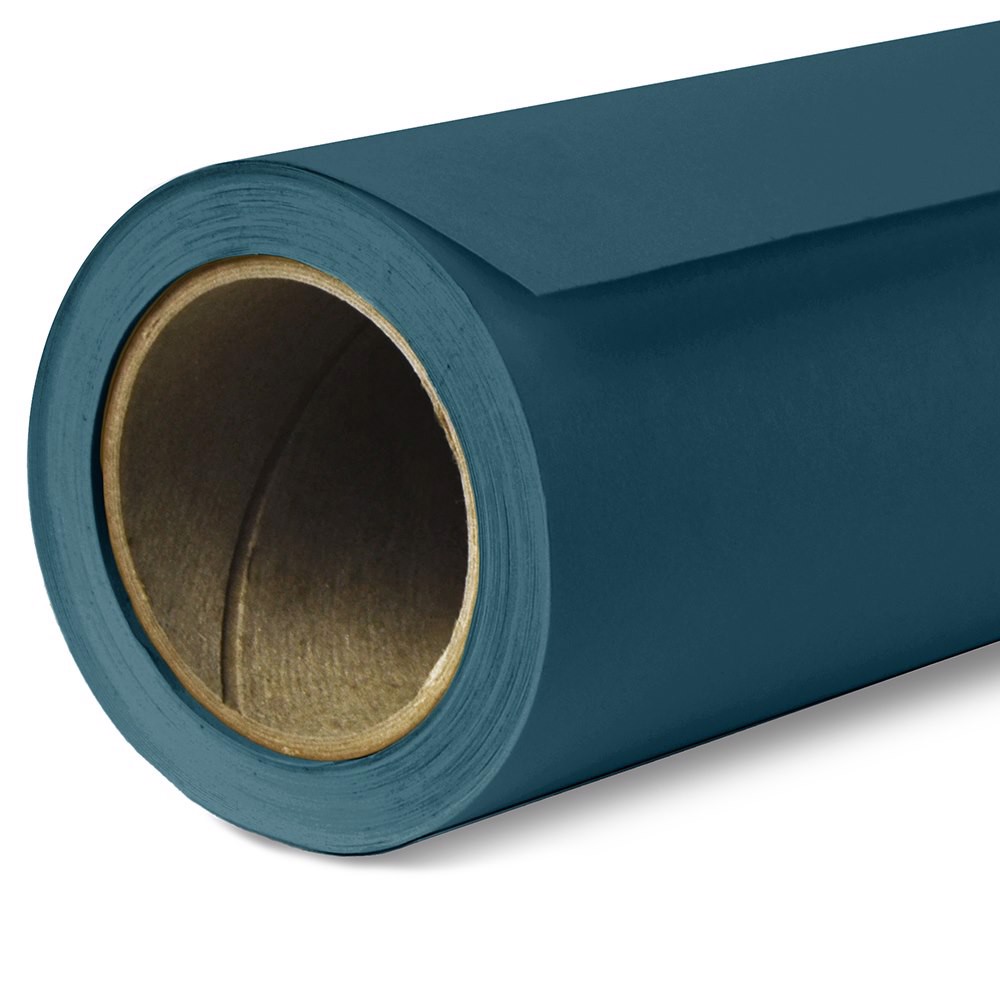
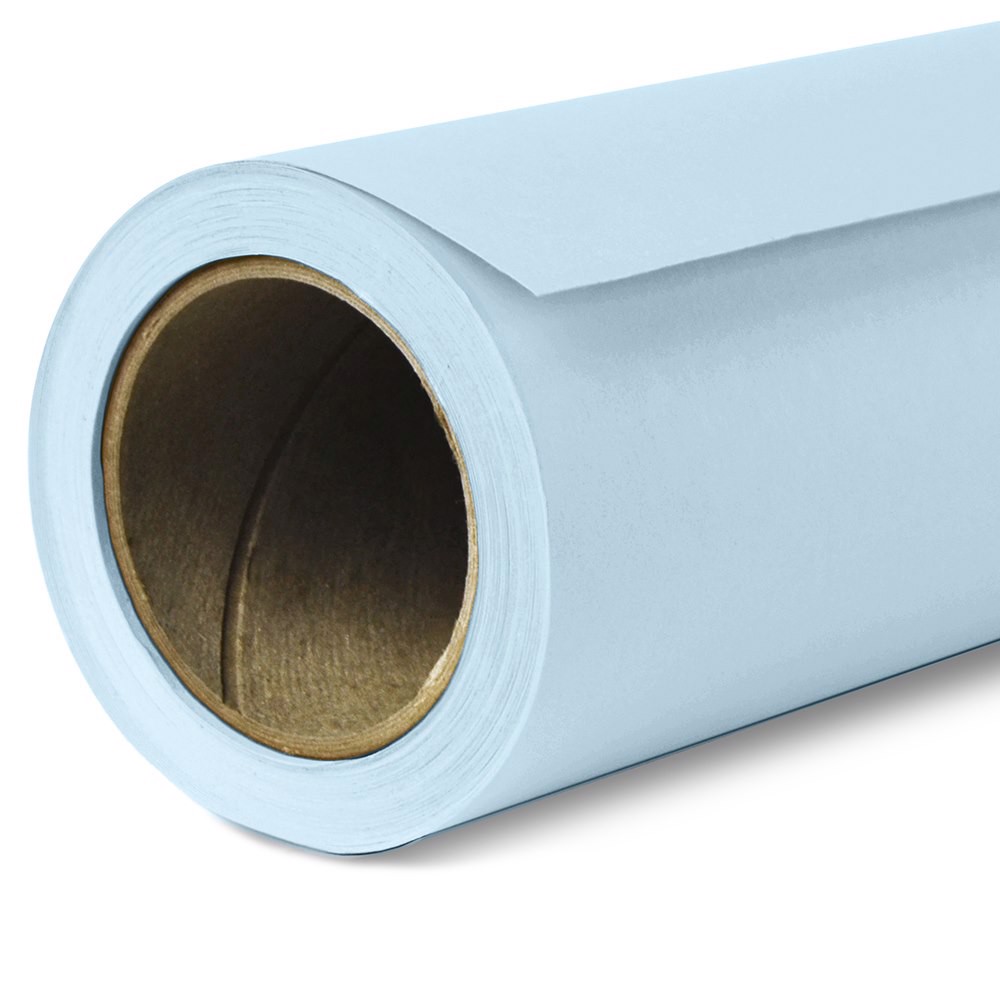
Color Banding occurs when there aren’t enough tones available in the bit depth of an image to create a seamless transition two graduating areas of color, brightness and/or saturation. Banding is often seen in images with a bright sky and can also occur with any smooth background such as with seamless paper or solid vinyl. Most frequently, the problem is seen in 8 bit images and in files that have been too heavily edited or compressed. When uploading to some sites on the internet that use strong compression methods, banding can occur in the converted image on the receiving end and that can be difficult to prevent. Here are some tips to avoid and fix:
In camera
Set your image quality to the highest available setting
Set your camera’s color space to AdobeRGB
Shoot in RAW file format (vs. JPEG)
On the computer
Edit in 16 bits per channel mode
Perform all post-processing in a PSD or TIFF file format before converting the final version to sRGB and JPEG format (which compresses the image data)
Here are two suggested approaches to correcting banding in Photoshop:
1) Blur method (effective on strong banding)
Work in 16 bit mode: Image \ Mode \ 16 bits/Channel
Copy the background layer: CTRL/CMD – J
Make the layer copy into a Smart Object (so you can modify as desired): Filter \ convert for smart filter
Add a surface blur: Filter \ blur \ surface blur (won’t affect detailed areas as strongly as other blur modes)
Zoom into an area where banding is visible in the preview window
Adjust the radus and threshold values to the lowest values that resolve the banding. Threshold will have the most impact.
Add a black layer mask. Layer \ Layer Mask \ Hide All
Select the Brush tool. [B] Select a soft brush and set the opacity to 50%
Paint with white on the mask over the areas affected by banding.
2) Noise method (effective on mild banding)
Work in 16 bit mode: Image \ Mode \ 16 bits/Channel
Create a new 50% gray fill layer – Layer \ New \ Layer… then Edit \ Fill… in “contents” field, select 50% gray
Change the layer blend mode to “Soft Light”
Add noise: Noise \ add noise
Choose Uniform, and tic the box for “Monochromatic”
Adjust the level until you see improvement
Add a black layer mask. Layer \ Layer Mask \ Hide All
Select the Brush tool. [B] Select a soft brush and set the opacity to 50%
Paint with white on the mask over the areas affected by banding.
yvonne (verified owner) –
Excellent chart for the paper background colors, plus other useful information as well. Definitely worth the price!
prettypineapplephotography (verified owner) –
I wanted to see what the colors would look like in person and I’m so glad they had this as an option. Now I can make informed decisions before purchasing more!
scott8 (verified owner) –
Can’t review it, never received it!
Savage Universal Support Team (verified owner) –
Hi Scott! We’re sorry to hear you never received your Seamless Paper Chart. If you ordered it from us, please contact our customer service (https://savageuniversal.com/contact-us/). If you ordered from one of our dealers we recommend reaching out to their customer service team!
michaelhschmitt (verified owner) –
I ordered this sample chart hoping for some samples to help me choose colors. Firstly, I was surprised I had to pay for it, and secondly, the samples on the chart are only 1/2″ x 1″. They aren’t really large enough to get a sense of how they will look as a wide piece of paper.
Savage Universal Support Team (verified owner) –
Hello! We apologize for any dissatisfaction with the paper chip chart. The charts are available for purchase as they require a lengthy manual production process. The 1/2″ x 1″ measurements are stated in the product description and are most beneficial to ensure color accuracy before ordering a background as color representation can vary online from monitor to monitor.
Alana Espineli (verified owner) –
Great reference sheet of all the backgrounds.
Julie Byrd (verified owner) –
This was exactly what I was needing. Thanks!!
Emma Petersen (verified owner) –
LOVE that there is a physical copy of color swatches. I find it really hard to trust what color background I’m actually buying when I only see the swatch color and one example photo (that could have any number of color, white balance, or HSL edits done to it. This will be very helpful to my future orders
Mike (verified owner) –
It seems odd to leave a review on a brochure, but it was tremendously helpful. The colors online look good, but seeing the colors all together in the brochure made us change our choices slightly. If you are looking to order, I strongly suggest getting the brochure so you have a clear idea of the colors.