

Best Tips to Reduce Paper Backdrop Wrinkles
January 28, 2021
I’m sure it’s happened to all of us – but sometimes it feels like just me. I grab a favorite from my closet and realize that it’s already been swept out before and walked on. Or, taking down a roll of paper; and despite my best efforts, sometimes it gets crinkled. Ugh! Not at the end, not in some inconspicuous corner, but right there in the middle of the section I want to shoot against. And it seems a shame to cut off 6 feet of paper when it’s 99% perfect. Just like a single tiny white cloud in a clear blue sky, our attention can be instantly captured by the smallest hiccup in an otherwise buttery smooth background. It can happen with any type of smooth, seamless background and can really distract the viewer’s attention.
If you’ve ever struggled with cleaning up footprints, smudges, ripples, creases or other marks on your Seamless Paper backdrop images – here are some tips that might help.
Avoidance
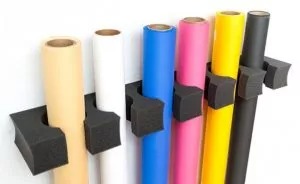
Store in a cool dry place, tightly rolled. Store upright versus horizontally to keep the shape of the inner cardboard core intact.
Take care during setup and breakdown to avoid tearing or creasing the paper while unrolling.
Make sure the backdrop is level and centered on the crossbar.
Use a spring clamp to secure the core to the crossbar.
Wear socks or shoe covers if you need to sweep out and walk on the paper.
Apply a layer of gaffer tape to the model/subject’s shoe soles before they step into the shot.
Fixing Before the Shot
Occasionally; some marks can be cleaned up or fixed before you take the photos.
A Swiffer or similar duster can work surprisingly well when footprints are just dusty and aren’t ground into the paper fibers.
A dry Magic Eraser sponge can sometimes take out smudges as long as they aren’t embedded too deeply.
A large art eraser is sometimes effective on more stubborn spots; just take care not to damage the paper itself.
Fixing in Post
Frequency separation is a technique that is wonderful on skin but often more complex than is usually necessary for seamless paper. Instead, I recommend first trying the Patch tool or the Spot Healing brush. There is a healing brush tool in Lightroom that can be helpful in most cases, but the tools in Photoshop tend to give a better result.
Be sure to work on a duplicate layer when making edits in Photoshop. When using the Patch tool, select the area to be corrected and then click and drag the selection to a nearby area you would like Photoshop to use as the replacement. Photoshop will automatically blend the edges of the patch. The Spot Heal tool works just like a brush tool. Paint over the spot you want to remove and Photoshop will fill the area with pixels that blend with the area surrounding the spot.
These tools, as well as the Clone Stamp and other tools can also be used for removing flyaway hairs that contrast with the background.
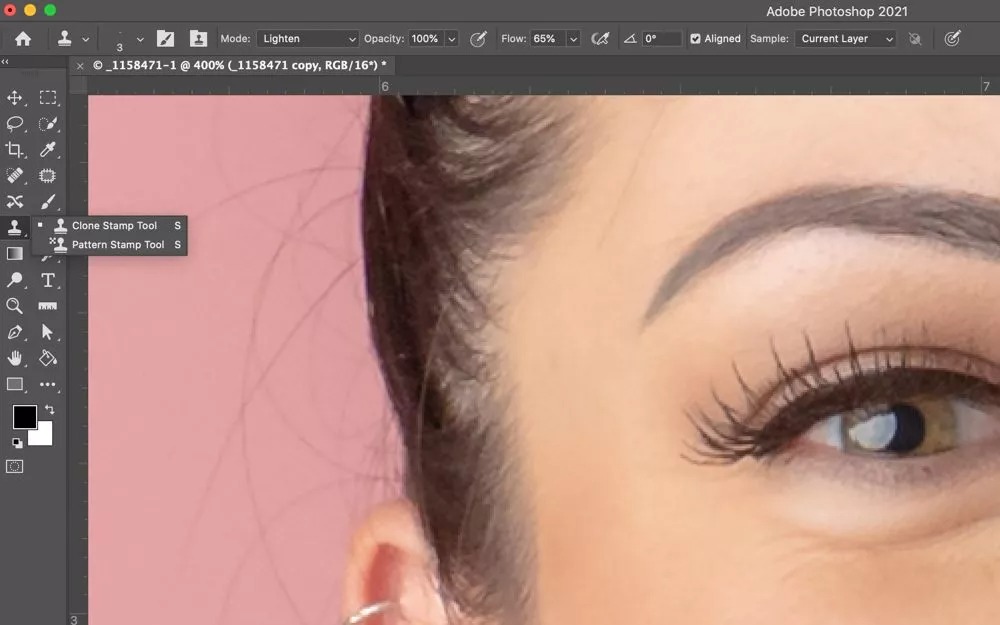
Seamless Paper Backdrop Wrinkle Removal
For larger areas, here’s a more comprehensive step-by-step technique to wipe out even the most stubborn creases or ripples in your background. Click the image to zoom and reveal instructions.
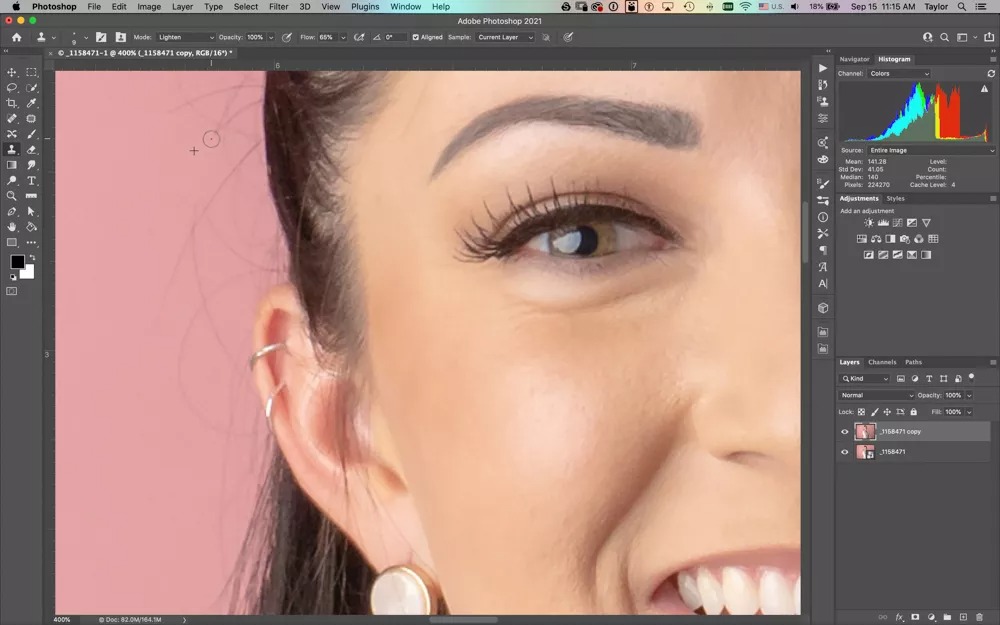
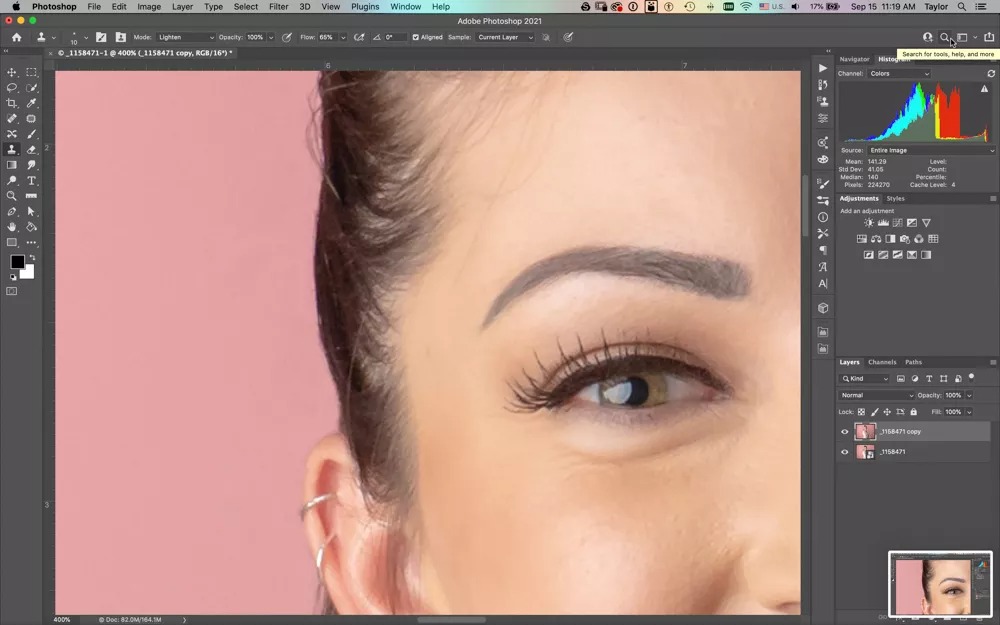
Here’s another example image:

Here’s a quick recap of the steps for quickly correcting large areas:
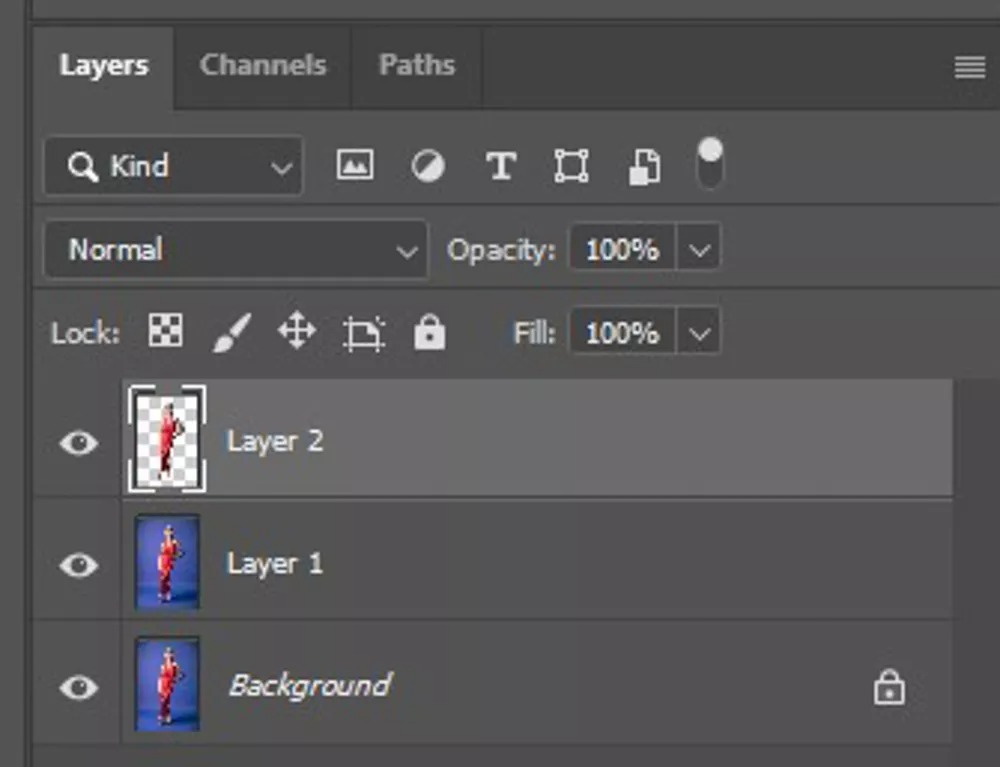
Copy Background Layer
Select Subject Elements (without shadows)
CMD/CTRL-J to copy to new layer
CMD/CTRL-click on the new layer to reselect (or Shift-CMD/CTRL-D)
With the subject selected, click on the background copy (Layer 1)
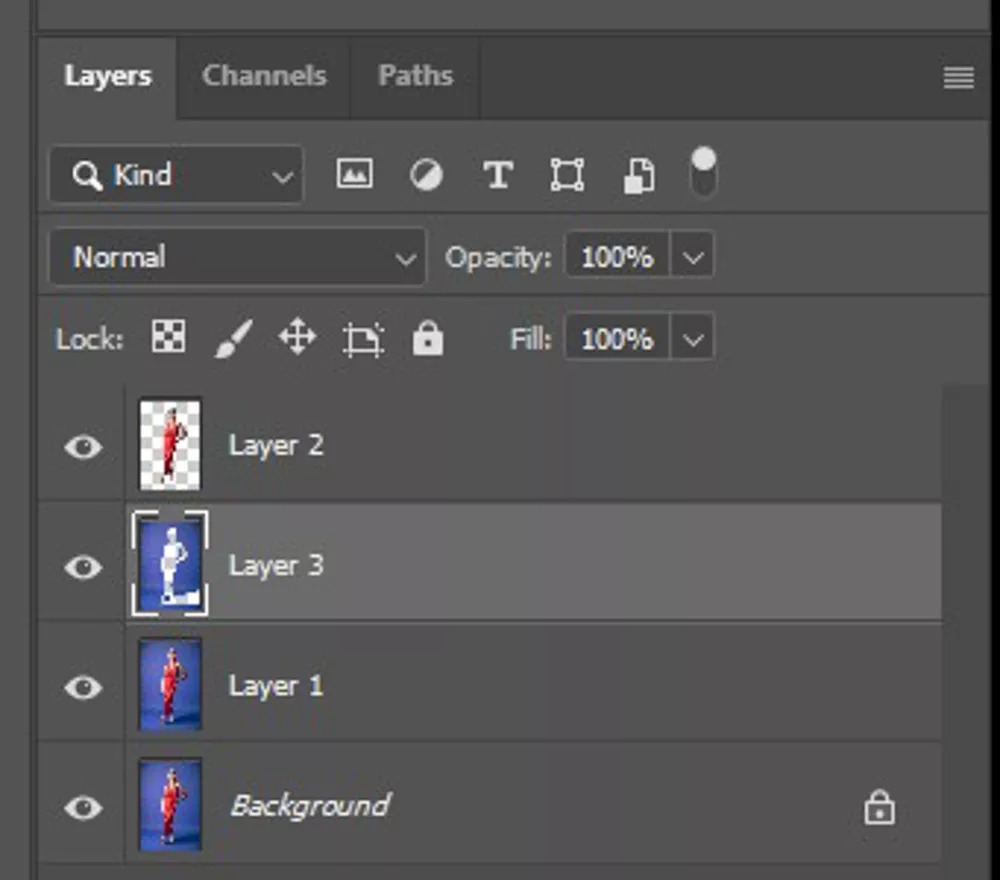
Select the inverse portion of the image by pressing Shift-CMD/CTRL-I
This selects everything except the subject.
Click the Lasso tool and either hold the ALT key or toggle on the “subtract from selection” mode.
Use the Lasso tool to de-select any shadow areas or other small details you want to retain.
Copy what remains to a new layer by pressing CMD/CTRL-J
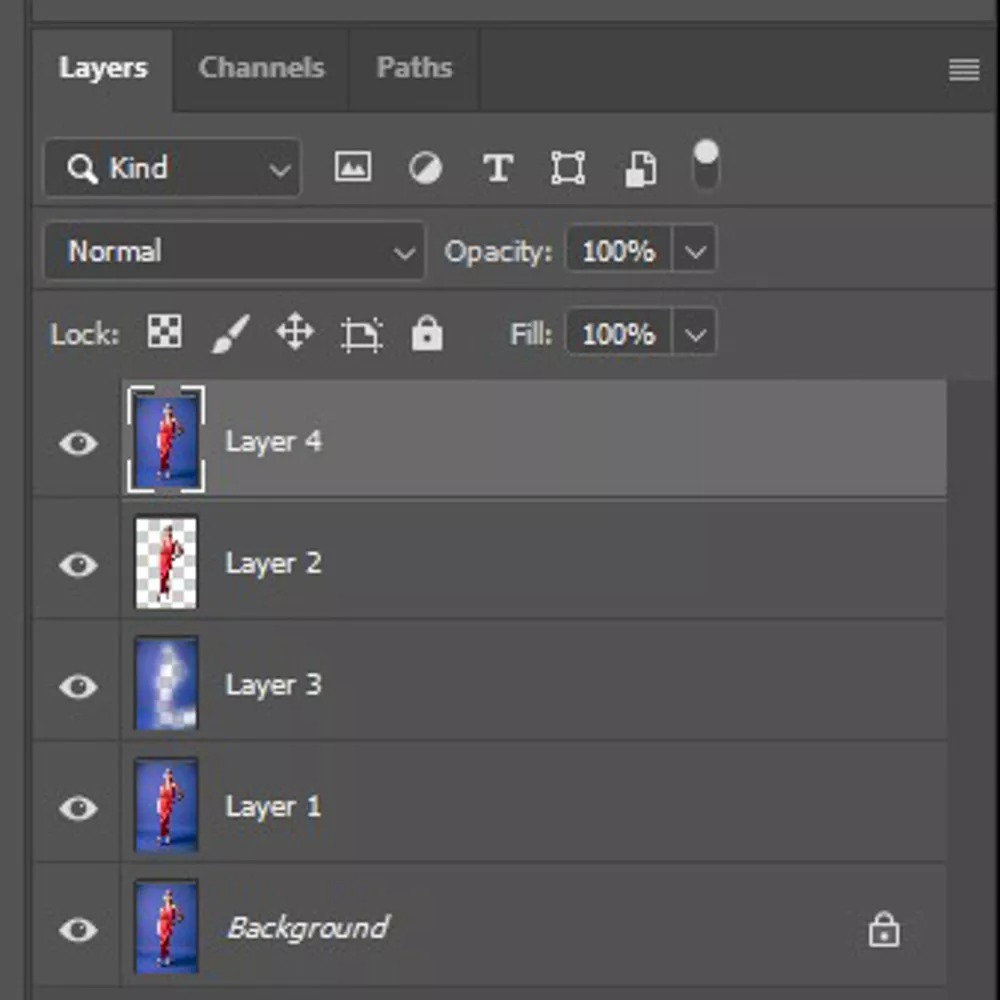
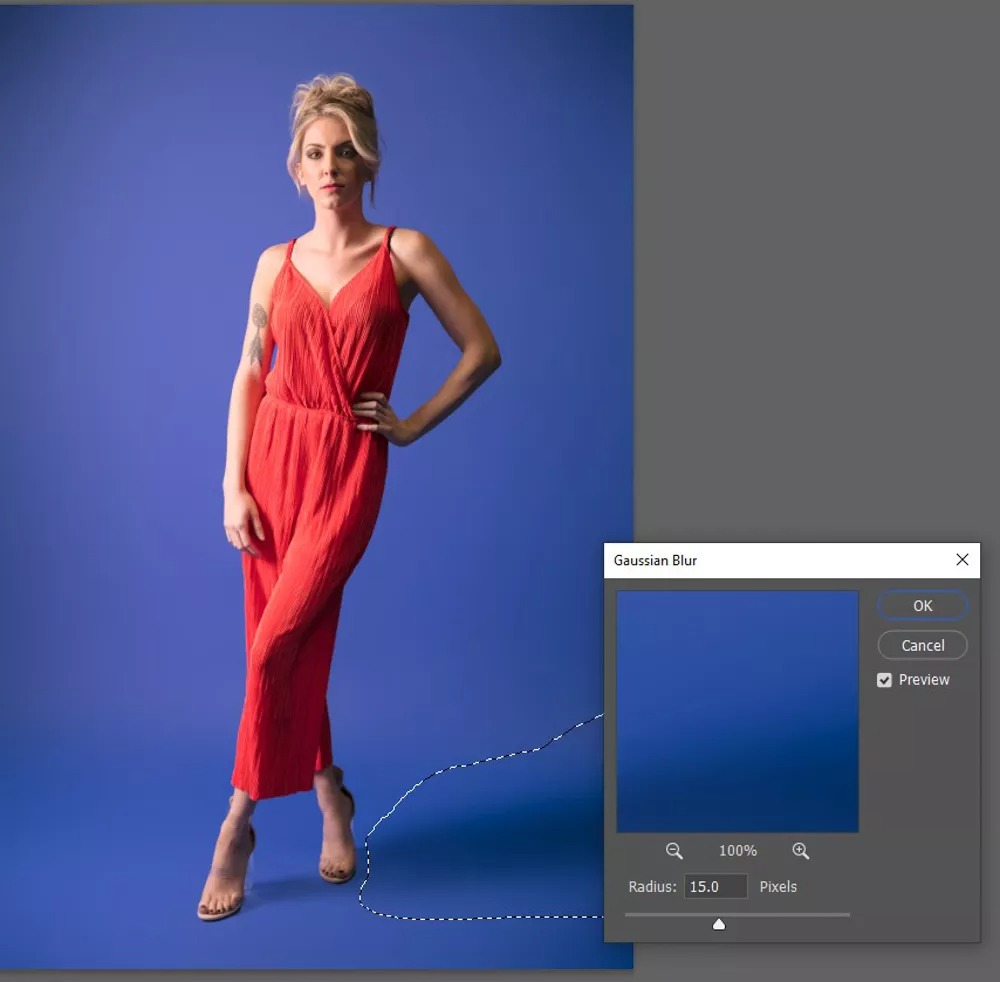
Click on the new layer in the Layers panel and select Filter/Blur/GaussianBlur
Adjust the blur radius until the ripples/imperfections are no longer noticeable.
Create a stamped copy of all the layers and then separately blur portions of shadow areas if necessary.