
Tips for Using a Ring Light for Video Conferencing
July 14, 2022
Thinking of using a to pump up the look of your video conferencing? Wonderful! Now what?
Why a ring light?
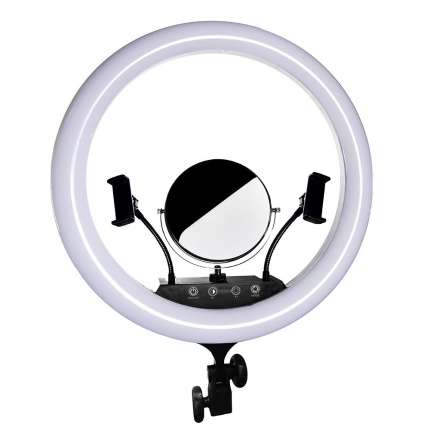
Ring lights offer the benefit of spreading the total area of your light source over a large surface. Rather than having the same light output in a small compact unit (such as a flashlight), the illumination is moved away from the center of the device out to the edges. A larger light source in relation to the subject creates softer shadows, more even illumination on the subject (that’s you) by eliminating the typical “hot spot” in the middle of most standard light sources.
Ring lights are also (usually) diffused, meaning the lens or cover in front of the LED diodes is frosted. This helps to scatter light rays, reducing reflections and further softening shadows. All of these attributes are flattering to skin texture.
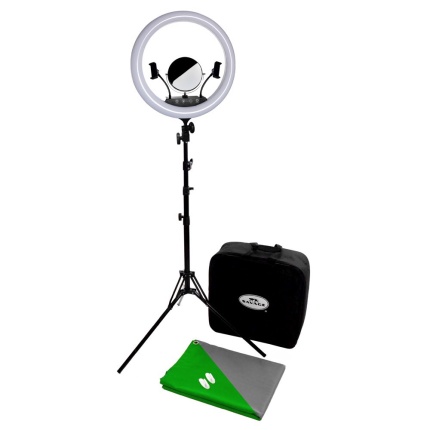
Current ring light designs are thin from front to back and very lightweight. This makes positioning one on a desktop easier than ever before. In addition, many have the option to run on batteries, so they can be ultra-portable.
Deciding on the best location for your ring light can be made quick and easy by using your laptop’s camera application. Watch the lighting in your image change as you adjust the following settings:
Positioning
The position of your light is important because it will most significantly affect the direction and intensity of shadows on your face. Each of us has unique facial features, so the most flattering angle of light will vary individually. Some of us with a more prominent brow/chin/nose or deep set eyes need light from a different position than others with less prominent features.
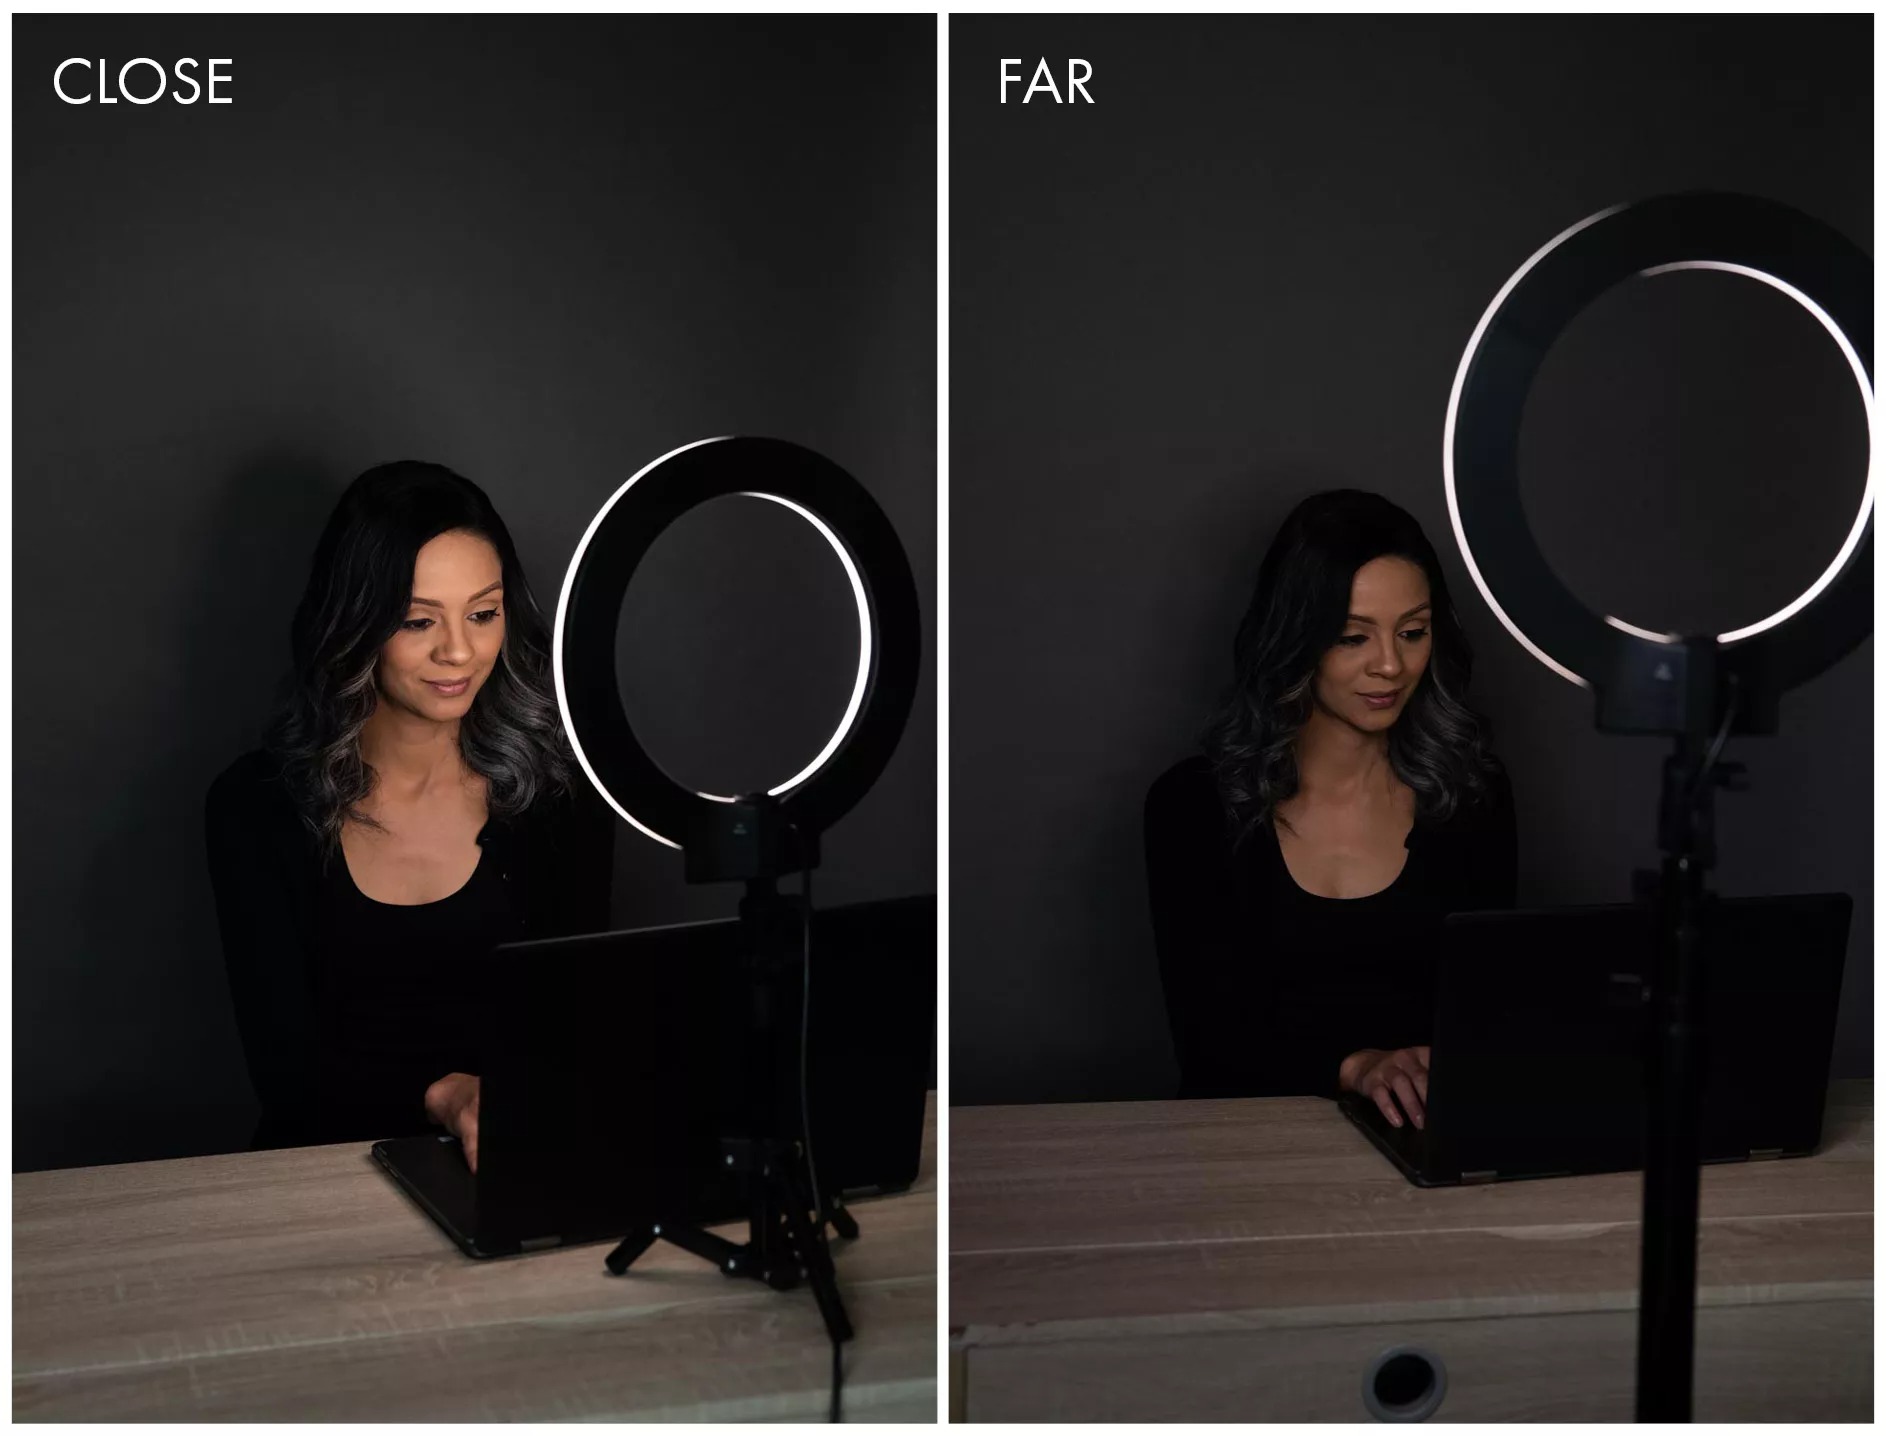
Distance
If possible, place the light approximately an arm’s length away. Ring lights are designed to be placed relatively close to the subject in order to create soft, even lighting.
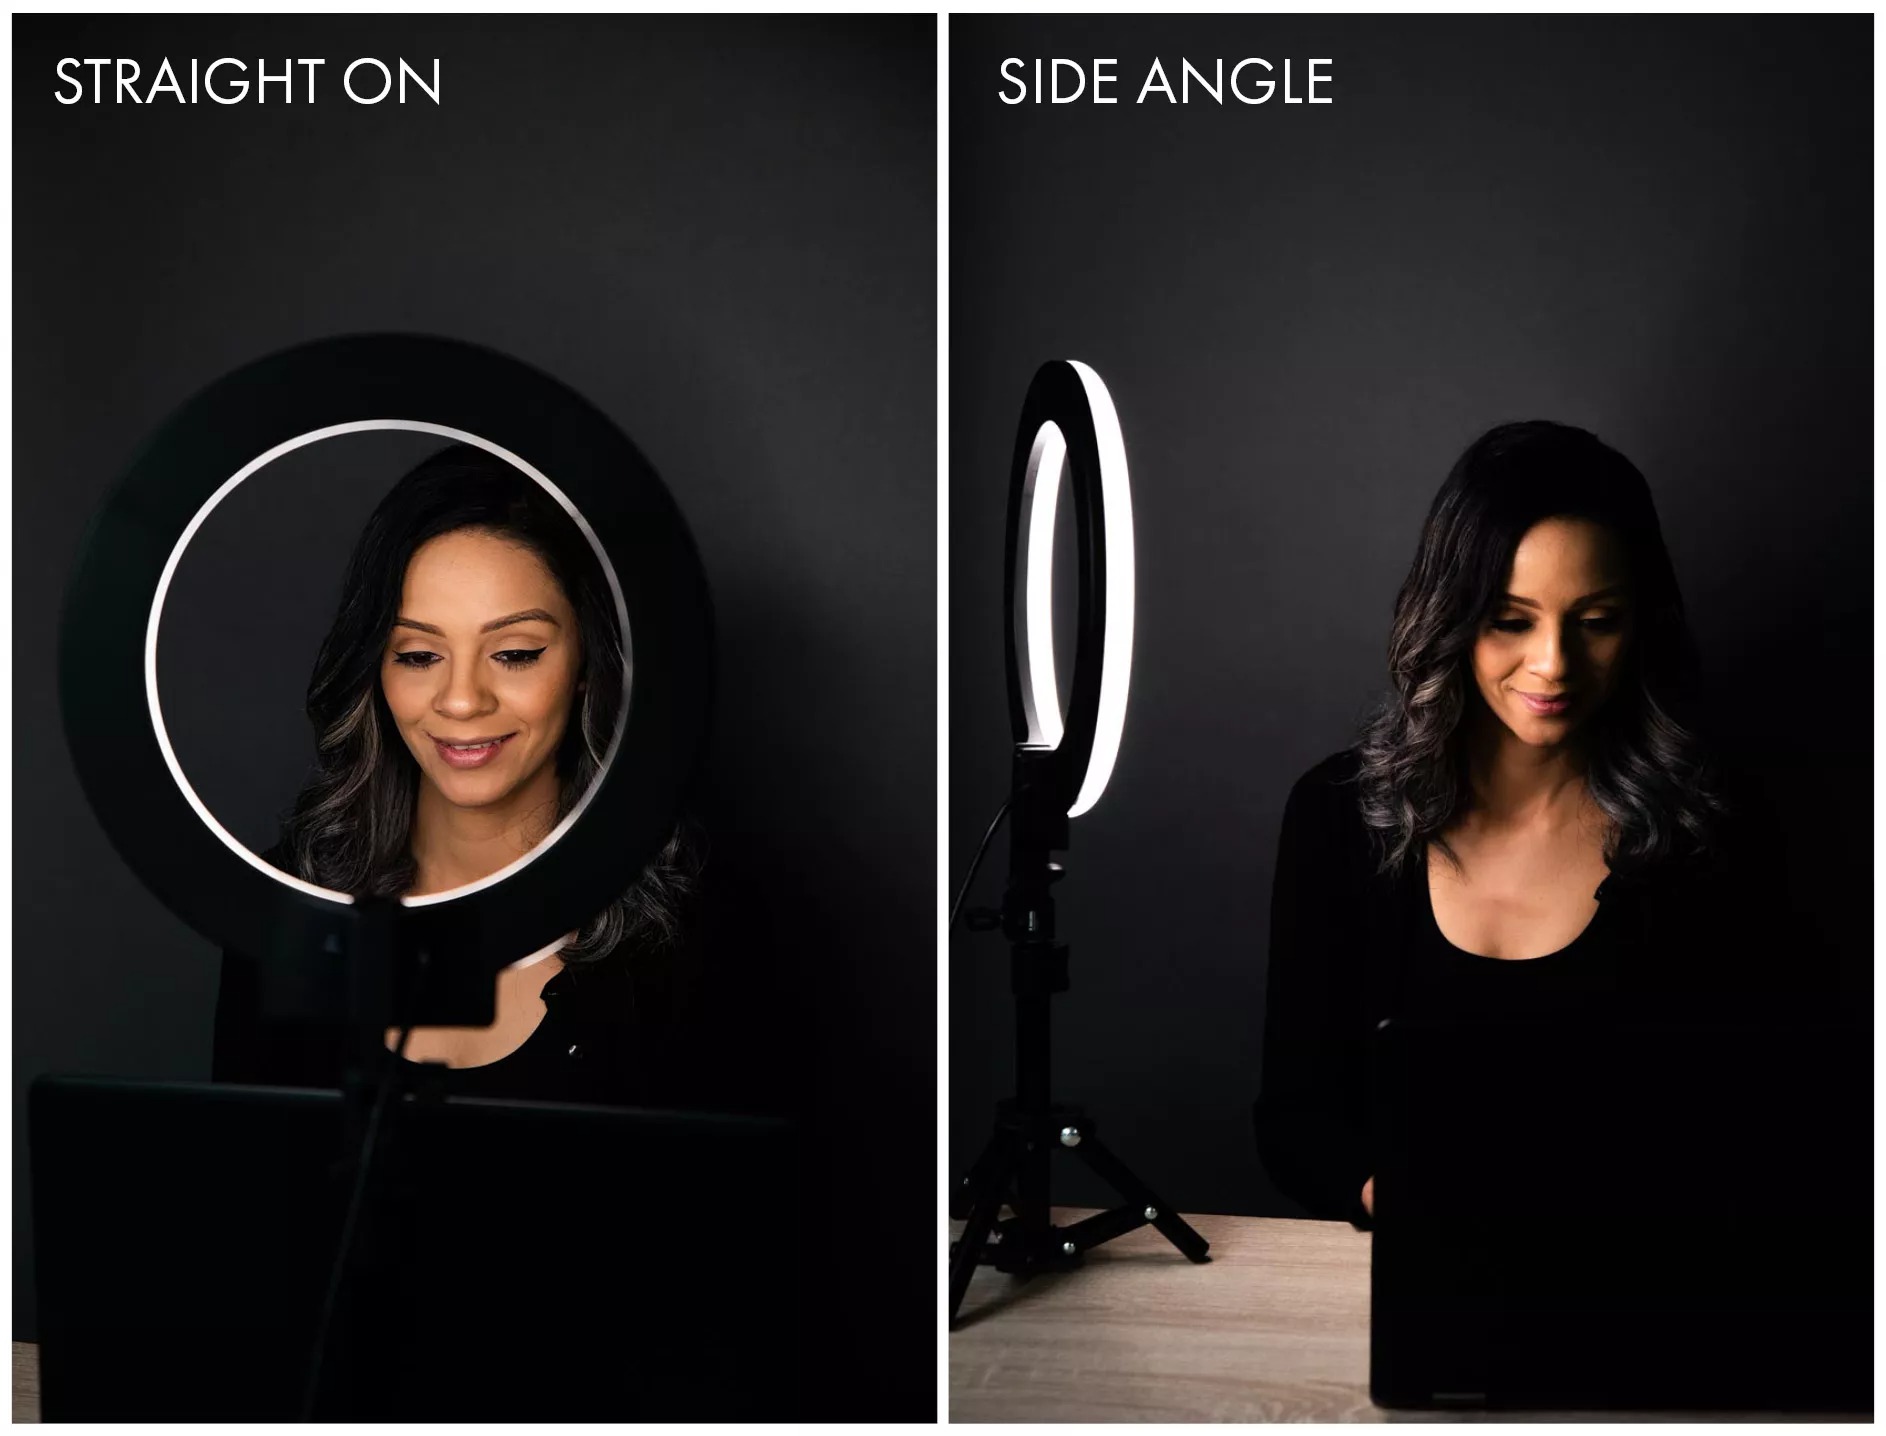
Angle
The best angles for a ring light range anywhere from straight on to the subject, to 45 degrees on either side. Don’t go too far to one side or you may introduce shadows on the far side of your face and that might be a bit too dramatic for a web meeting! If you’re recording with a regular camera, you can even shoot right through the middle of the ring light.
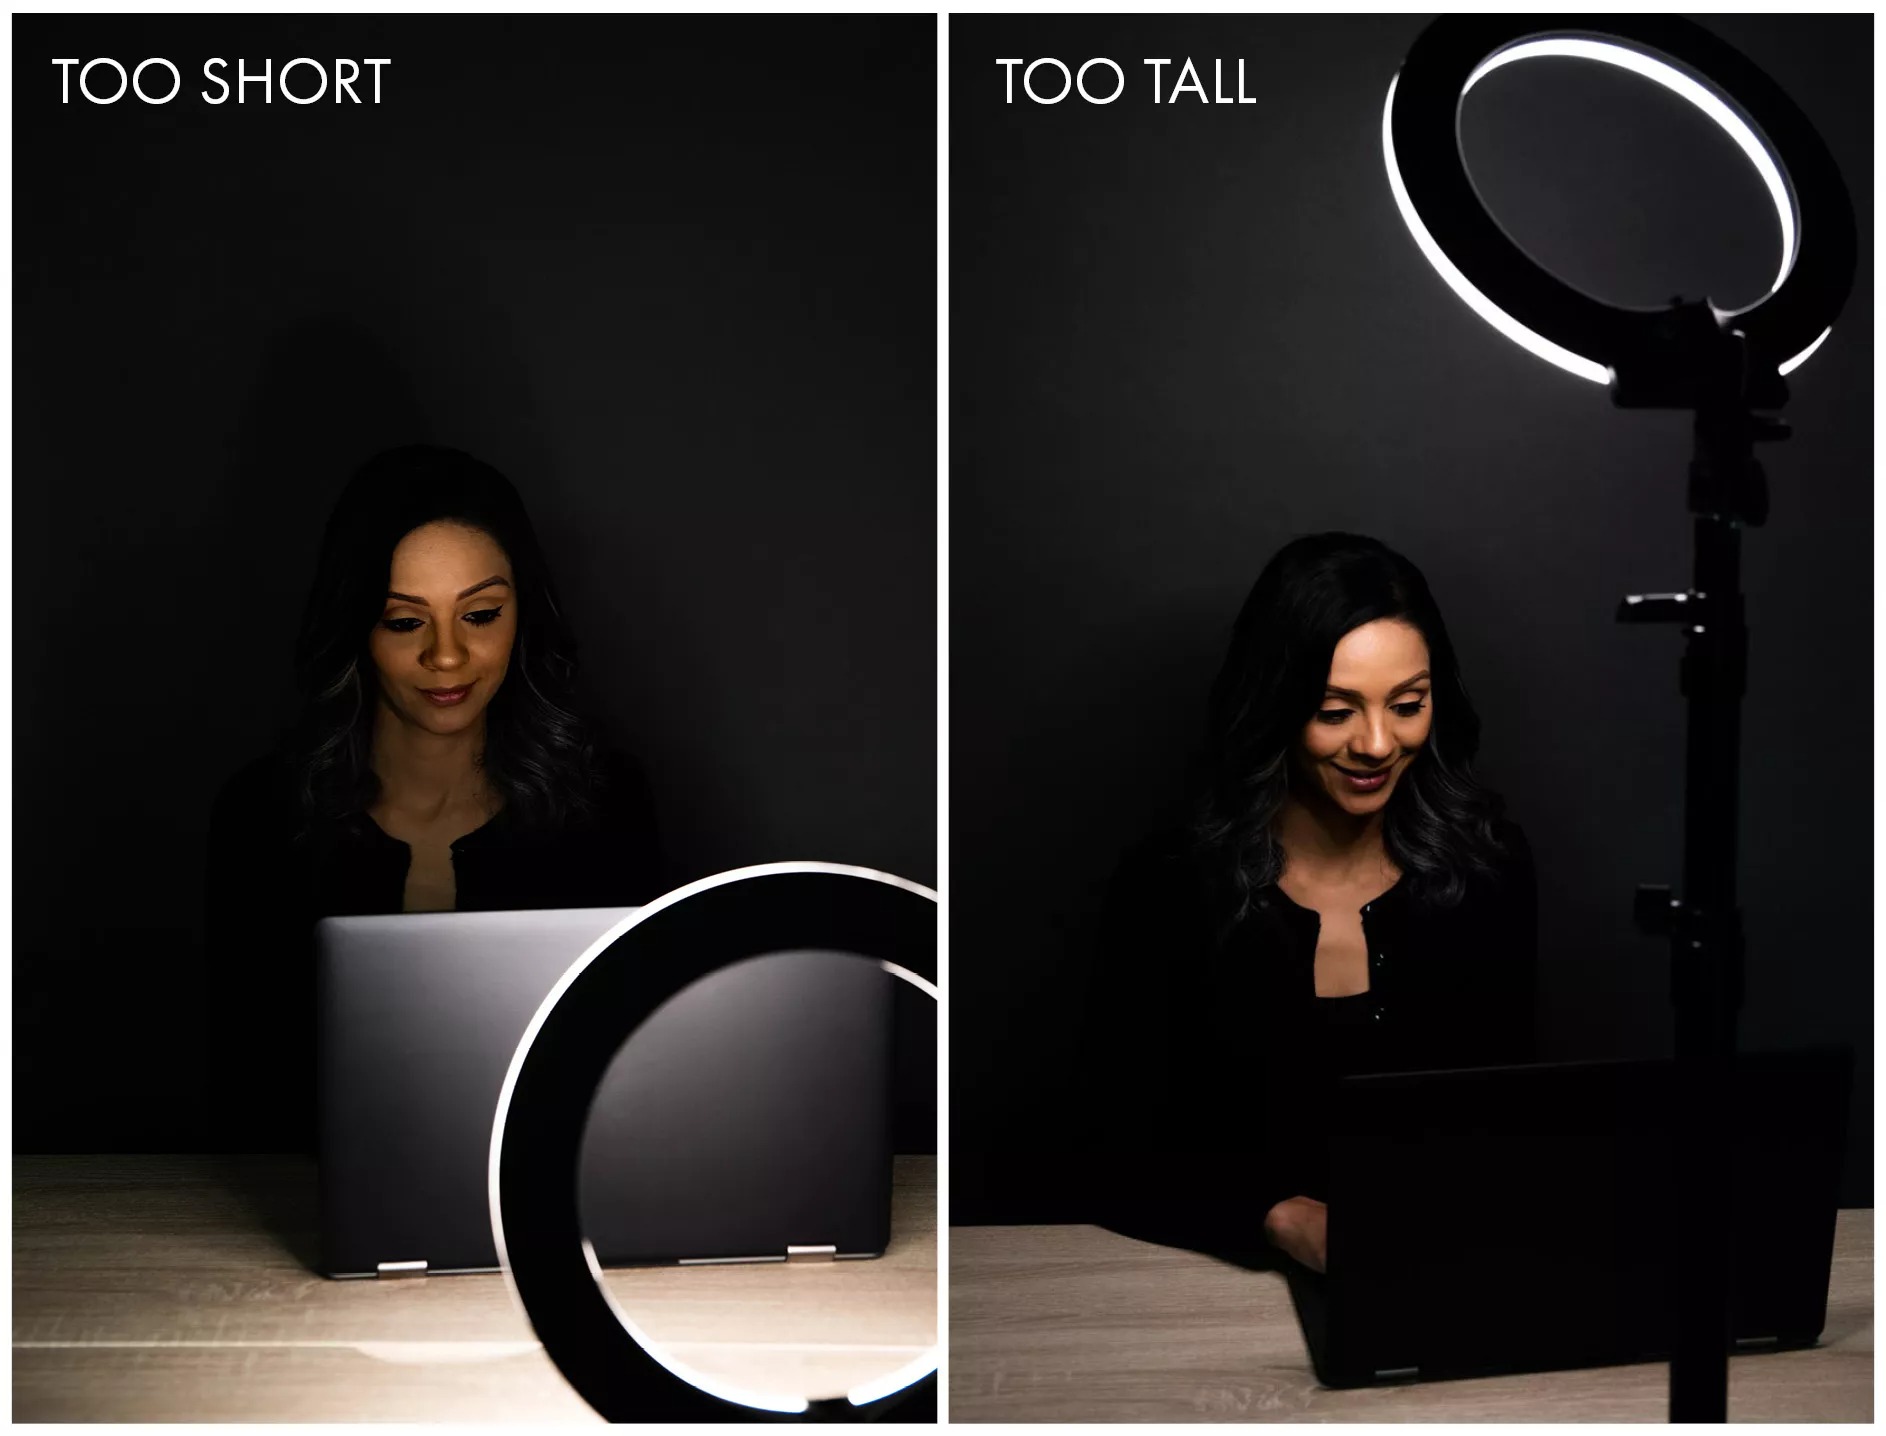
Height
Start off with the center of the ring light placed at eye level and slowly raise it if necessary. When fine-tuning the height, watch out for any unnatural looking shadows around your eyes and chin area.
Power level
Ring lights can be very bright. Start out at about 20% power and check your scene on the monitor to see if that looks balanced with the background. Lighting yourself brightly can cause self-adjusting cameras to automatically set exposure for your face, while leaving the background very dark. Ideally, you want to still be able to see detail and texture in the brightest areas as well as the darkest areas of the scene.
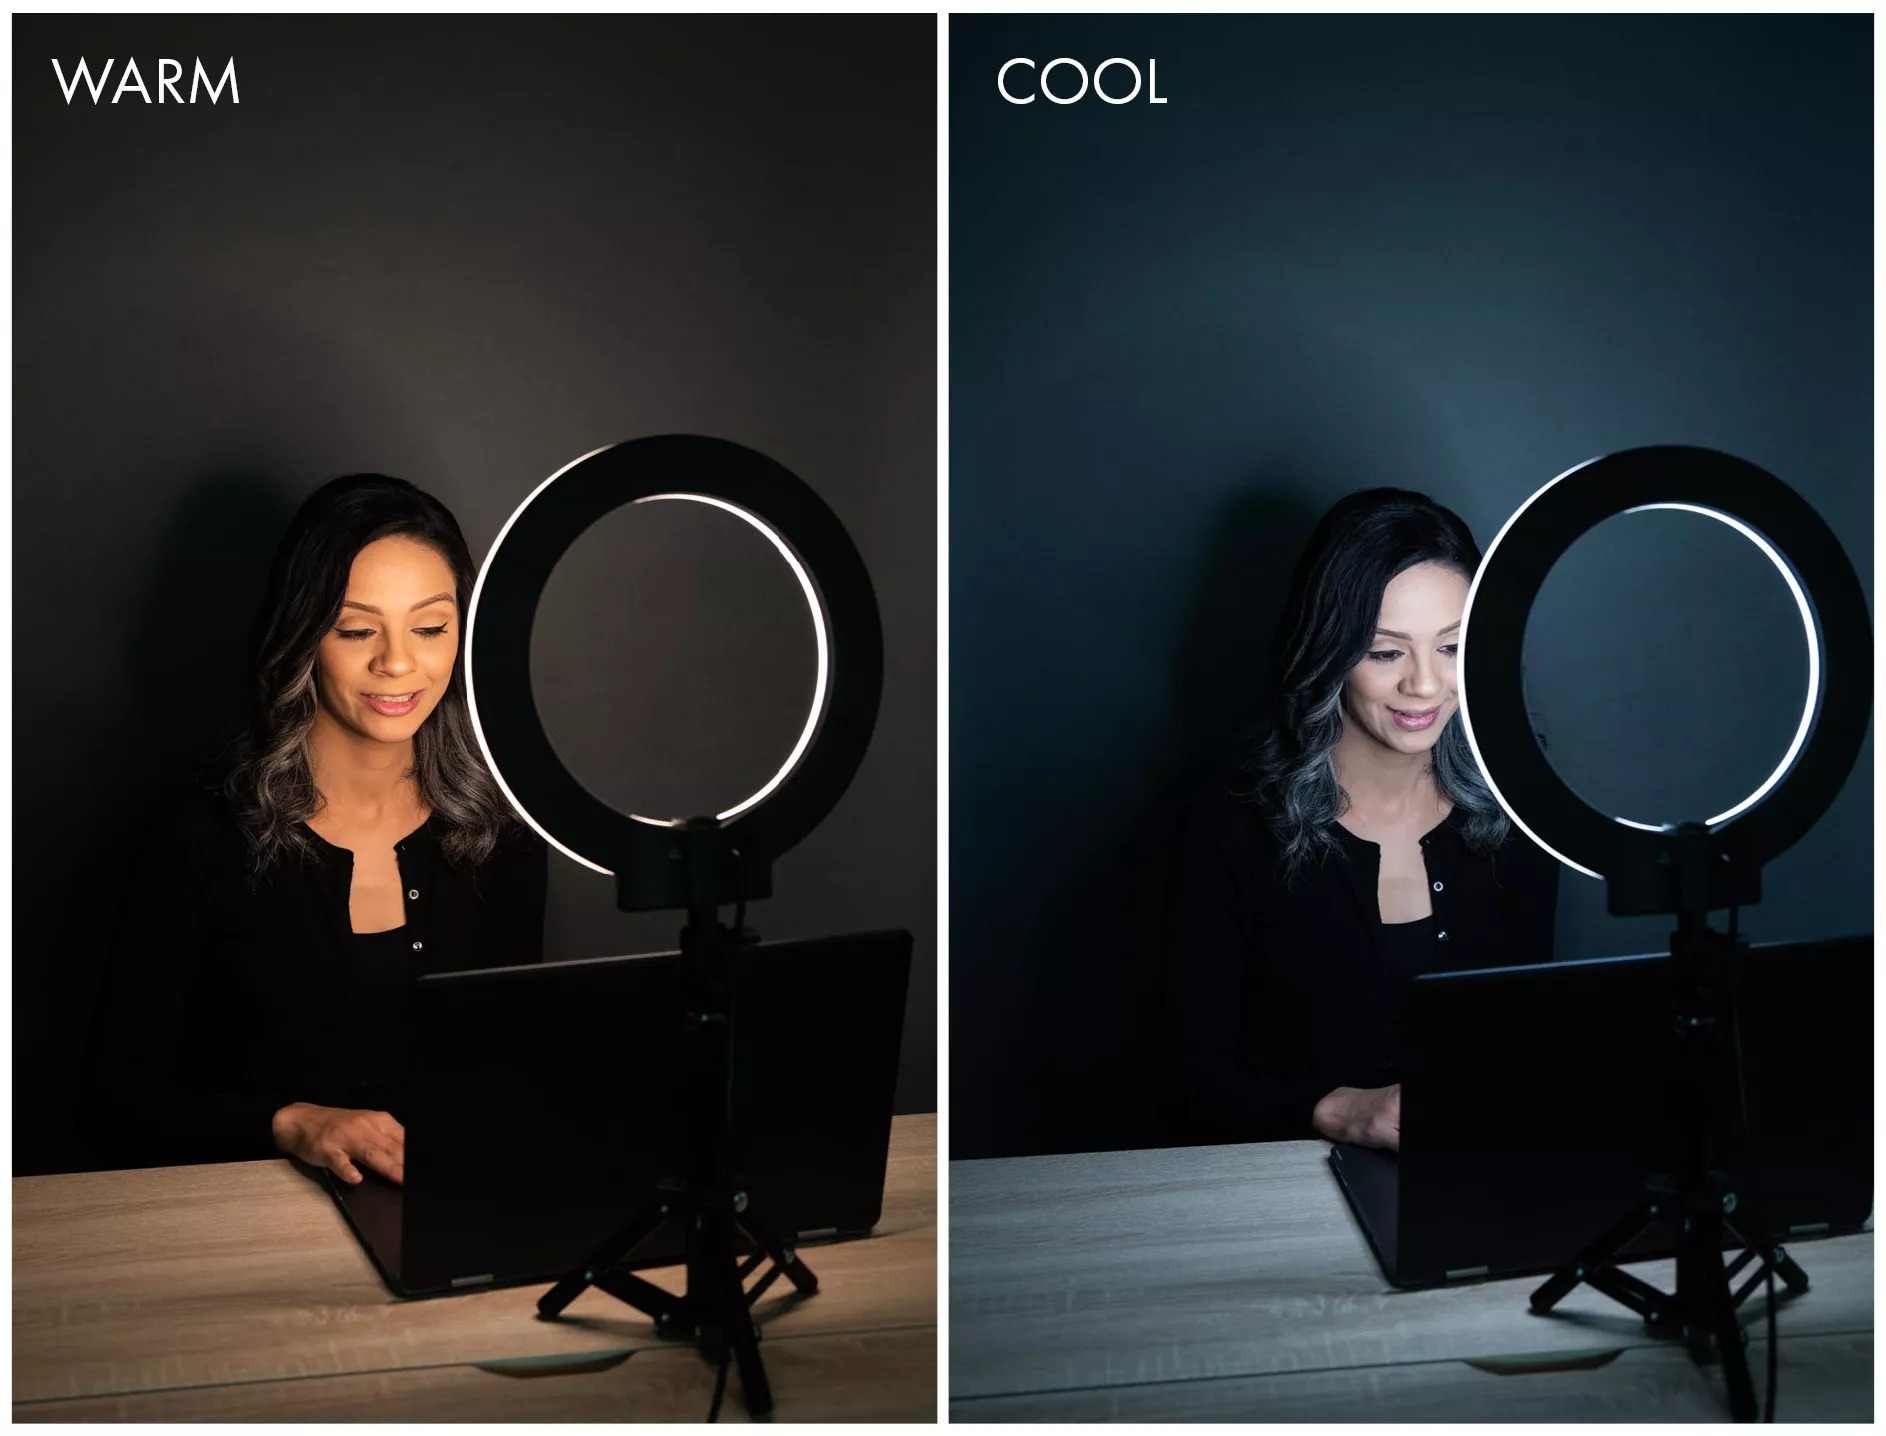
Color temperature
Light temperature is measured in degrees Kelvin. The Kelvin light temperature scale runs opposite to what we are used to when we think of physical temperature. Lower Kelvin temperatures are considered “warm” because they have a greater proportion of yellow and orange wavelengths. Higher numbers are considered “cooler” with their greater proportion of blue wavelengths. You may be somewhat familiar with this concept when choosing household lightbulbs. Options range from Warm White to Daylight in the same manner.
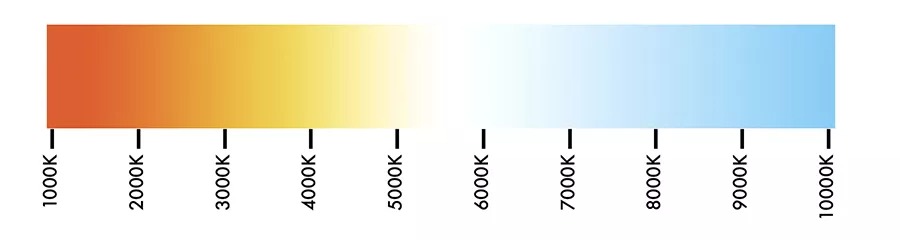
When lighting for a web meeting, the most natural looking light is going to be similar to the way the sun lights us outdoors at various times of the day. Evening light is “warmer” (more yellow-orange) than mid-day light. “Daylight” temperature is considered cooler and ranges between 5400K-5600K in color temperature. On camera, that can look a little bit too cool, so don’t go higher than that range or you may look almost blue in some web apps. A bit warmer setting between 4500K and 5000K is often optimal. Again, check your monitor and adjust accordingly.
Final tips
Consider other competing light sources in your scene, such as direct window light, strong fluorescent overhead lights, or lights that may be behind you in the scene. Depending on how strong these light sources are and where they are positioned, they may help or they may interfere with the look you are trying to create. Try closing curtains, turning overhead lights down (or off), or moving lamps as needed so that your final setup presents you in the best light possible!
SHOP SAVAGE RING LIGHTS AND FIND THE ONE THAT'S RIGHT FOR YOUR SPACE...